Showing posts with label strawberry. Show all posts

November 28, 2015

Great Grains Crunchy Stuffed French Toast


Happy National French Toast Day!

Did you know that my favorite French toast of all time involves cereal? True story. There's a local catering company with a tiny cafe that only serves lunch and brunch, and they make this Crisp French Toast which is coated in corn flakes. It's the greatest thing ever, all crispy on the outside and fluffy on the inside.

This recipe reminded me of that French toast, which made me super excited to try it. Except this French toast is stuffed with bananas and chocolate, so it was almost like it was invented just for me.
This stuffed French toast is a healthier twist on the usual brunch favorite. It's baked and not fried (which is also convenient when serving a crowd), and it's coated in Great Grains Banana Nut Crunch cereal. The cereal not only adds a great crunch, but it's also packed with protein, fiber, and whole grains.

Unfortunately, this French toast didn't quite measure up to my favorite. It was tasty, but my testers all agreed that it was missing something. I think adding some cinnamon and a little extra vanilla could really take it to the next level. Still, nobody was turning down a slice.

(Also, because I am a crazy person, I used fresh baked bread. I had literally baked it that morning. That probably contributed to the problem, since stale bread soaks up liquid better. So, you know, use old bread.)
Great Grains Crunchy Stuffed French Toast
Yield: 4 servings

Ingredients
3 eggs
1 cup fat free milk
1 1/2 tsp. sugar
1/2 tsp. vanilla
1/4 tsp. sale
2 cups Great Grains Banana Nut Crunch
8 slices challah bread, 1/2 inch thick
2 oz. bittersweet baking chocolate, finely chopped
1 large banana, sliced
2 cups sliced strawberries

Directions
Preheat the oven to 350°F.

Beat eggs, milk, sugar, vanilla, and salt in a large shallow dish with wire whisk until well blended; set aside. Place cereal in resealable plastic bag; seal bag. Crush cereal with rolling pin. Dip both sides of the bread slices in egg mixture; place on clean work surface. Sprinkle evenly with chocolate; top with bananas. Dip both sides of remaining 4 bread slices in remaining egg mixture; place over bananas to make four sandwiches. Press together gently. Coat both sides of sandwiches with cereal crumbs; press crumbs firmly into sandwiches to secure.

Place on greased baking sheet.

Bake 20 to 25 min. or until lightly browned. Cut diagonally in half. Serve with the strawberries.

Tips and Suggestions
Substitute: Prepare as directed, using semi-sweet baking chocolate
http://postfoods.com/recipes/crunchy-stuffed-french-toast/?alttemplate=greatgrainsrecipe&brands=1171
*Disclaimer: I was provided with free samples of Great Grains cereal in order to feature this recipe. I received no further compensation. All opinions are, as always, my own.*

April 26, 2015

PizzAvengers Assemble!


This is one of those posts that you only get because of the unique way my brain works.

It started out simply enough. I was looking up Iron Man cupcakes on Pinterest (for completely non-blog related reasons. Sometimes you just wanna look at superhero cupcakes, y'know?) and I stumbled across an Iron Man pizza. I thought that was a really cute idea. And then I thought, I wonder why I've never seen a Black Widow pizza. That would be super easy. And then my brain thought about doing a Captain America fruit pizza, and it just kind of snowballed from there.

Plus, with Avengers: Age of Ultron coming out in LESS THAN A WEEK OMG I AM SO EXCITE, it seemed like the perfect time to let Mr. Brain go wild and create the PizzAvengers: Earth's Mightiest Pizzas. (Those of you that live places with an earlier Avengers release, no spoilers, please!)

I stuck with the core 6 Avengers from the first movie because it just worked out better that way. 6 pizzas is already more than enough for just me, and I wouldn't have the slightest idea of what to put on a Scarlet Witch or Quicksilver pizza.

All of the pizzas (except Cap. He's special) start off the same way. I used pre-baked crusts to save some time (you can usually find them in the refrigerated section of the grocery store near the cheese), a simple tomato sauce and shredded mozzarella. You can go with any sauce/cheese combo you like-- the Thor pizza would be really good as a barbecue pizza-- just make sure the cheese is white or lightly colored to give you a plain backdrop.

Because I'm cooking for just me, I decided to make three of the pizzas mini. You can totally make them full size, this is not a comment on their importance as Avengers, they just had the easiest designs to scale down and gave me less to fit in the fridge.
I started out with the Black Widow pizza because she really did have one of the easiest designs to put on a pizza. Take some pepperoni and cut it in half. Outline an hourglass shape using the cut side of the pepperoni to give you straight lines. Fill in. You're done.
Simple and elegant. Just like Natasha. But the pizza is far less lethal.

Hawkeye's pizza may look simple, but it took me forever to figure out. Hawkeye's costume is purple, which means that purple is usually used to represent him, and I couldn't figure out anything purple to put on a pizza. I briefly thought about skipping him, when I remembered about Pizza Dog, and when a character has a Pizza Dog, you can't not make him a pizza. (Lucky, aka Pizza Dog is from the comics, but I'm totally hoping he shows up in the MCU soon)(Lucky is called Pizza Dog because Clint gave him pizza and called him Pizza Dog. It's that simple)

Finally, I remembered that red cabbage is purpley. I chopped it and gave it a quick saute in a hot skillet-- not long enough to make it soft, I just wanted to jumpstart the cooking process since it didn't get very long in the oven-- and used it to make a bullseye pattern.
I feel like Clint would be very torn about whether to shoot at it or eat it.

The Hulk pizza is the one I'm least happy about because he kind of just ended up looking like generic green monster. But I didn't know of anything else that seemed appropriately Hulk-y, so that's what I went with. Plus he's kind of cute.

So what you need are some chopped green peppers and olives, and some extra mozzarella for eyes and teeth. I found it easiest to start by outlining his mouth with the chopped olives. Fill it in with more olives, then add some little pieces of mozz for his teeth. Fill out the shape of his face with green peppers and cut out some eyes out of more mozz. Make the eyes kind of slanty and angry looking, but don't worry if the shape's not perfect since it will melt in the oven. Add tiny pieces of olives for the pupils.

Once you're satisfied with the size and shape of the head, outline it with more chopped olives. Use larger olive pieces for his hair and nose.

I totally meant to add some angry slanty eyebrows and some red onion (cause the Hulk is always wearing purple pants), but since it was one of the mini pizzas, I didn't have room.
HULK LIKE PIZZA

For Iron Man, you need pepperoni, cheddar cheese, and some more chopped olives, plus some mozzarella to make the eye slits. Start with outlining the Iron Man helmet shape with pepperoni. Tony has a big head, so don't be afraid to use most of the pizza. Then you need to shape the face plate. I found it easiest to create the shape with the cheddar, then I used the halved pepperoni I had left over from the Black Widow pizza to give it a more defined outline. Place vaguely rectangular pieces of mozz for the eye slits (again, don't worry about getting the shape perfect), then use the olive to add some of the ridges and details in the mask.
Tony probably thinks ALL pizza should have his face on it.

Thor's pizza I almost forgot about because I was so worried about what to do for Hawkeye's pizza, but it actually ended up being one of my favorites. What you're going to need is shredded cheddar cheese, chopped olives, plain shredded chicken, and cooked, crumbled sausage.

Start by using the cheddar to draw a lightning bolt on the pizza, slightly off center, and then learn from my mistake and outline it with more chopped olives (the lightning bolt got a little lost after baking). Use the chopped olives to outline Mjolnir (rectangular head, long handle). Fill the head with shredded chicken and the handle with the sausage crumbles.
This last step is purely optional, but I put pepperoni around the outer edge of the pizza. I had so much pepperoni left since I bought a 16 oz. bag, and it's the color of his cloak, so I could get away with it. Plus it tickled me to make Thor's pizza a kind of meat lover's pizza. I can just imagine him being all YES MORTAL, I TOO AM A LOVER OF MEAT. LET US FEAST ON THIS STRANGE, FLAT PIE YOU CALL 'PIZZA.'

One last look before they go into the oven. Bake according to the directions for whatever crust recipe you're using. The pre-baked ones I used suggested baking at 450 (F) about 8 minutes for the mini pies and 10 minutes for the large.

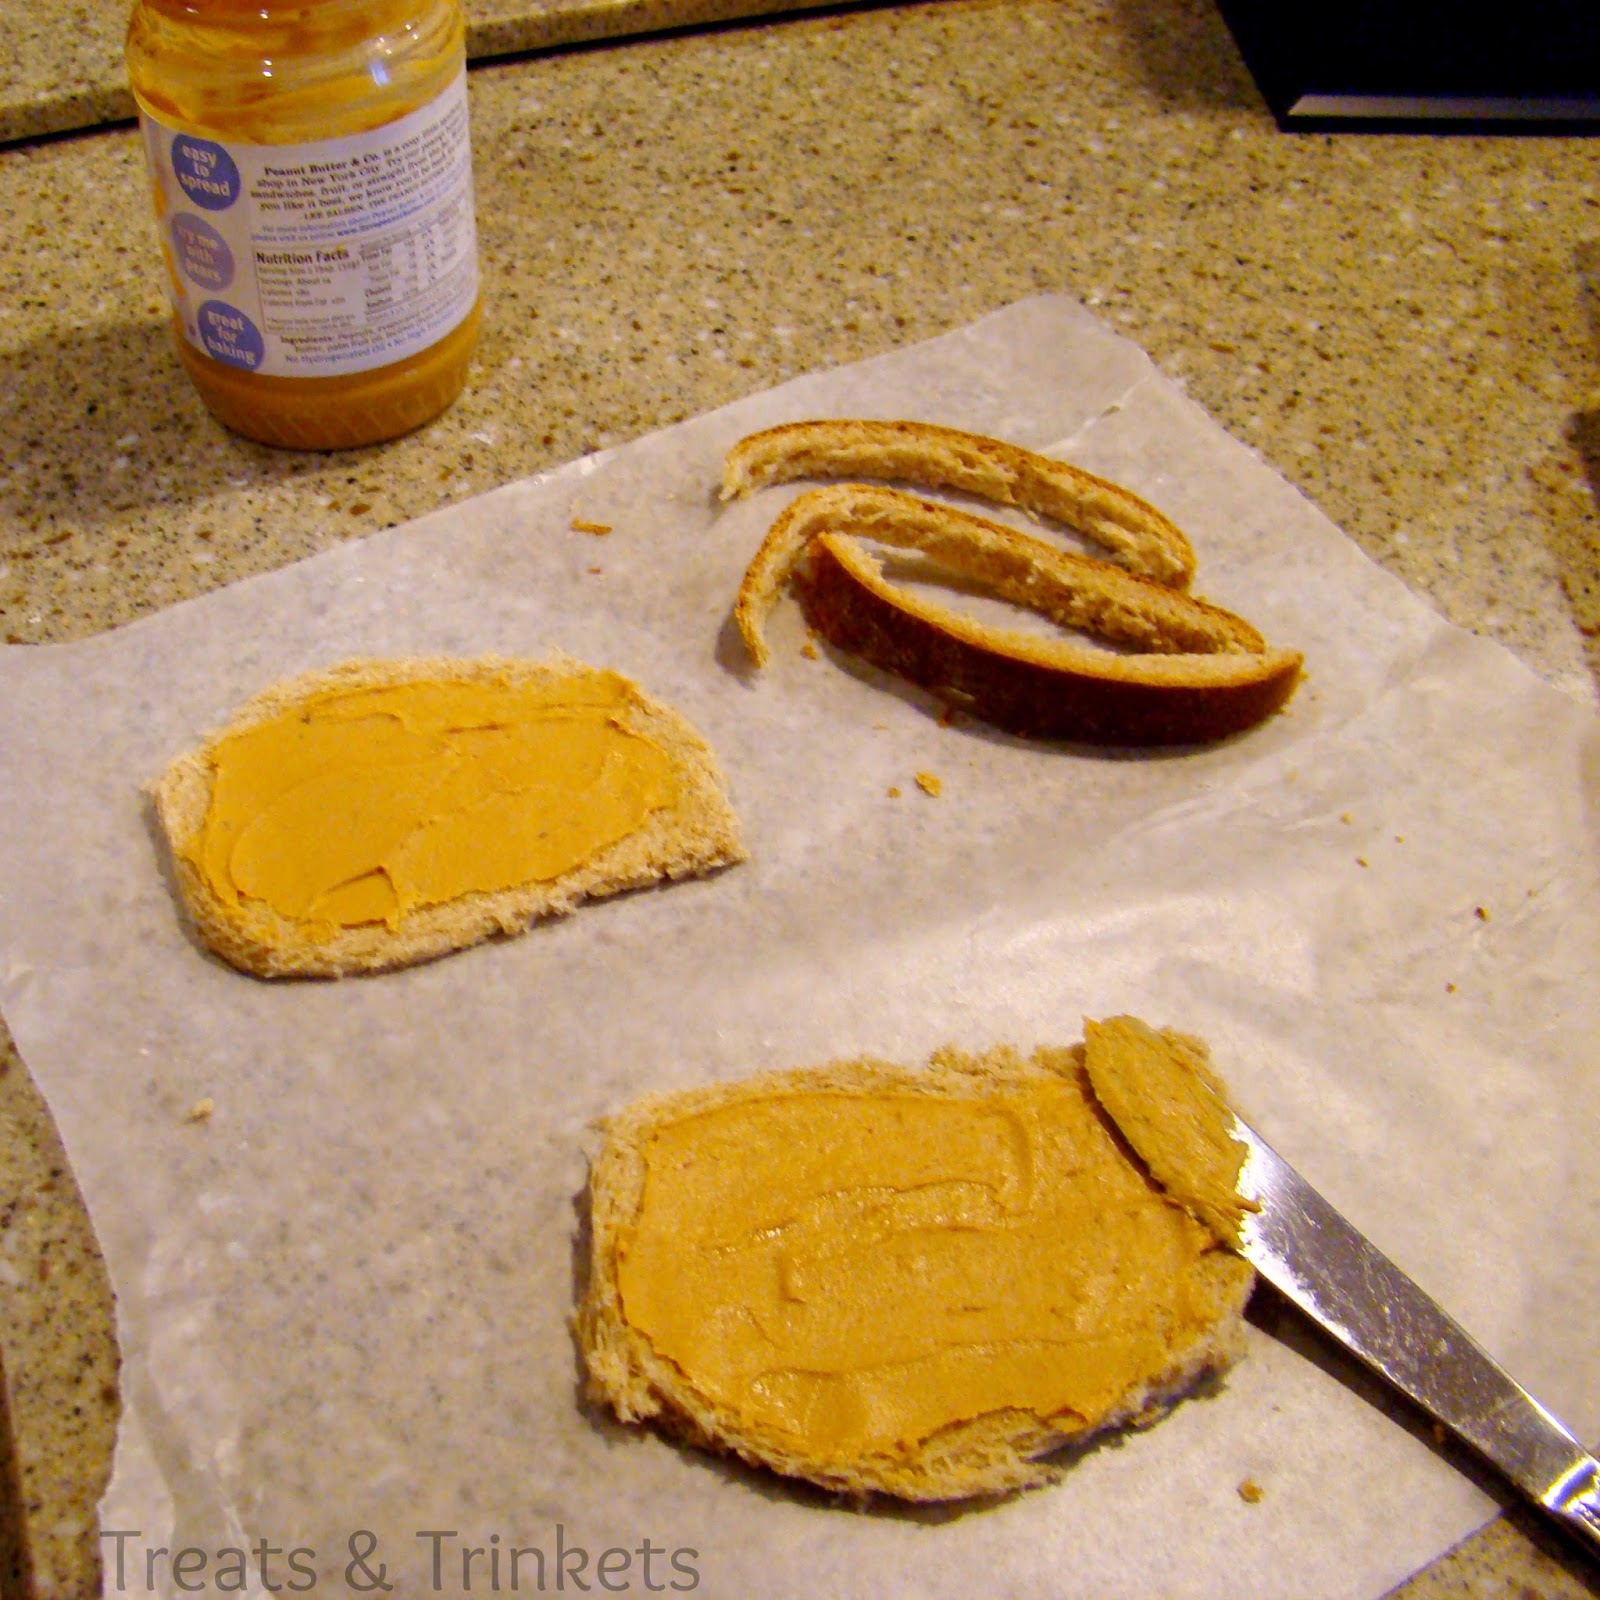
While your pies are baking, you can work on Cap's fruit pizza. Since this is a dessert pizza, the crust is a giant cookie. I used sugar cookie dough. Any roll out recipe would probably be best (I can recommend these from LilaLoa). I actually just bought a thing of slice and bake dough from the store since roll out dough and I aren't friends. Spread your dough into a pizza pan (I used a foil one) and bake at 350 (F) until it's a light golden brown. I baked mine about 16 minutes, but keep your eye on it. Let it cool completely. I actually baked mine before I started assembling the pizzas, so it could cool while I was working on them.
Most fruit pizzas I've seen use cream cheese frosting as a base, to which I say ick. We've been over my feelings about sweetened cream cheese before, but honestly, when you're putting all of this fresh fruit on a dessert, why would you use anything except fresh whipped cream? Seriously.

So for this fruit pizza, we're using whipped cream (about 1 1/2 cups after whipping), halved strawberries, raspberries, blueberries, sliced bananas (2 were more than enough for me), and mini marshmallows. Start by spreading your whipped cream evenly on your cookie base. Then work from the outside in on the design: start with a ring of strawberries around the outer edge of the cookie, then do a ring of sliced bananas. My bananas were small, so I doubled them up. If you're worried about browning, you can skip them or use large marshmallows in their place. I made a quick glaze out of apricot jelly, and they only looked slightly brown the next day

Inside the bananas, do a ring of raspberries (I meant to do a double ring, but I made the banana layer too wide, so there wasn't room). In the middle, use the mini marshmallows to make a star, then fill in the rest with blueberries. Use more raspberries to fill in any spaces between the strawberries.
It won't stop bullets, but it's perfect for any 4th of July barbecues

I kind of totally love how they all turned out. Especially when they're all together, you can totally tell who they're supposed to represent.
Black Widow's is my favorite. It's just so simple and clean and immediately recognizable. Plus it was the easiest to make. Bonus.
If the lightning had come out better, though, I think Thor's would beat Black Widow. I love the design of it (is that narcissistic to say when you designed it? Maybe I shouldn't have had Iron Man pizza for lunch), and I love thinking about how much he would enjoy it, that great big Norse labradoodle that he is.
I put the most thought into Hawkeye's, but unfortunately, I don't think most people would get it presented on its own. It fits right in with the other PizzAvengers, though.
In my head, the Avengers have 4th of July picnics together and Tony always makes sure they have a dessert like this. Steve stopped being embarrassed when he tasted it.
Billionaire, playboy, philanthropist. Pizza.
Hulk was my one disappointment, since he looks too generic, but like Hawkeye, when he's around the other PizzAvengers, you know immediately know who he is.
My Age of Ultron excitement level is officially 6 pizzas high. How about you?

June 4, 2014

PB&J (with Bananas) Smoothie


Hey guys! So, the floor guy is coming to refinish the floors tomorrow, and that'll take 3 or 4 days, so after that, I can finally move in. I still got painting to do, but that can wait until I'm actually in the house. In the meantime, I'm in a kind of limbo. Half my stuff is packed away, half of it still needs to be packed. I have a maze of boxes. I want to buy things but I can't really buy things until I can put them in the house and I can't do that until the floors are done.

I did buy a rug and some pyrex at an estate sale, so there's that. (Except the rug cleaning place hasn't called me back. Seriously. Do you not want my business?)

Anyway, the long and short of it is, I kind of unpacked my blender just to make this smoothie.
To be fair, it wasn't premeditated. I already had some frozen banana in the freezer. We already had a big tub of strawberry yogurt in the refrigerator that didn't really look like it was getting eaten. So I was like, oh, I'll make a strawberry banana smoothie. And then I added peanut butter to it because peanut butter. So it became a peanut butter and jelly (with banana, because bananas are cool) smoothie.

And I liked it, because really, what's not to like? So I made it again, this time taking measurements instead of dumping things willy-nilly into the blender so I could blog it, and here we are

The peanut butter and strawberry flavors are definitely the most prominent; though you can taste the banana, it's there mainly for texture. And between the banana, the peanut butter, and the yogurt, this sucker is filling, which makes it a great option for breakfast. It's probably the healthiest thing I've ever put on this blog, and I-- butter and sugar and cream loving I-- made it for dessert. O.o
This smoothie, make it. Dessert, breakfast, snack, anytime. It's thick and creamy and sweet and cold and has peanut butter. It's exactly what every smoothie should be.

PB&J Smoothie
Yield: 1 smoothie

Ingredients
1 small banana, chopped and frozen
1/2 cup strawberry yogurt (I used Stonyfield Farm Smooth & Creamy)
1/4 cup lowfat (skim) milk
1-2 heaping tbsp. peanut butter (I used White Chocolate Wonderful)*
Splash of vanilla extract (optional)**

Directions
Add all ingredients to a blender and blend until smooth. Serve immediately.

*I didn't really measure the peanut butter. I just took a big spoonful and plopped it in there. You can never have too much peanut butter
**Or replace the skim milk with vanilla soy or almond milk

Recipe by Kim

April 16, 2014

Homemade Strawberry Cake Mix


Warning: This post contains words that are not actually bad, but that you might not enjoy explaining to your kidlets. Continue at your own peril. I don't have a choice; this is my life
Did you guys know that I apparently have a really sexy phone voice? I always thought I sounded like a small child, but apparently that's not the case. Practically the first time G and I met, she informed me I had a "porn" voice. Just recently, an exec she's friends with was in her office when I called him to tell him his visitors were in the lobby. He hung up with me, turned to G and said, "You know, she could make a lot of money as one of those phone sex operators."

I told G she should ask him what his basis for comparison was.

But these are both people I know and work with and attempt to embarrass me on a regular basis. I take what they say with a grain of salt, you know? It's the random strangers that have finally convinced me. This one time, I had a guy call in to ask for the company's website (because he didn't know how to Google?), and he told me I had a "pleasant accent" and then lingered on the phone telling me all about his exciting job as a Macy's buyer in upstate New York, then followed that up with, "Are you about medium height? 5'3", 5'4"?"

W.T.F. Also, no. (He even tried calling back, but the phone was really busy at the time, and I had an excuse to keep him on hold until he hung up)

And the other day, I had this caller that I was getting annoyed with, because he would not accept the fact that the person he was looking for was not listed. He asked for my name, and I thought he was going to ask to speak to my manager (they do that sometimes, because I'm obviously lying to them for my own nefarious purposes), and said, "Kim, your voice is so sweet."

Umm, thanks?

He then asked for my cell phone number. I tried to let him down gently, I did, but he kept pushing, telling me how "sweet" my voice was, and about how he's an account manager, "Your voice is just so sweet, I would really like your cell phone number, please, or your email address."

I finally told him that I had a call on the other line and I had to go (lie, but if Bossman has a problem with that, he can deal with it), and the guy laughed and started to say something else, and I just hung up. SO CREEPY.

PRO-TIP: Trying to pick up the phone operator makes you seem kind of pervy.
What does this have to do with cake mix? Absolutely nothing. I just thought you'd be amused.

Anyway, strawberry cake mix: whaaaaaaaaaaat. I think I've outdone myself this time.

This cake mix utilizes powdered strawberries. Not strawberry flavored powder. Not strawberry drink mix. Real, actual, organic strawberries that were freeze-dried, and then ground up. Now this is a real specialty item, but you can totally make it yourself using this tutorial from the Cupcake Project, or this method from I Run For Wine. I haven't tried either since stores near me don't really carry that much in the way of dried fruit, and leaving the oven on overnight to dry my own kind of freaks me out, but you've got options if you can't find the powder.

I, on the other hand, have a homemade mix obsession, and therefore if I see a powdered ingredient, I snatch it up, no questions asked.
Now, don't go thinking this mix is going to be like Duncan Hines or Betty Crocker strawberry cake mix. It neither tastes not looks the same (I did add a little powdered red food coloring that I had leftover from the Red Velvet Cake Mixes, but you can see that it still leans more towards brown than the hot pink of the boxed mixes). This is a strawberry-flavored buttermilk cake, moist and light, and not too sweet. I adapted it from my Strawberry Cupcakes to make it a little more mix friendly, and it's good.

The strawberry flavor isn't huge, but you can't miss it, and it's a lot deeper and more real than from the boxed mixes. If you want a real strawberry punch, I'd suggest mixing in about a cup of diced fresh strawberries.
Strawberry Cake Mix
Yield: Approx. 6 cups dry mix

Ingredients
2½ cups flour
2 cups sugar
⅓ cup powdered strawberries
2½ tbsp. dry buttermilk powder
1 tsp. red food coloring powder (optional)
¾ tsp. baking soda
½ tsp. salt
1 cup butter-flavored shortening*

Directions
In a large mixing bowl, whisk together all ingredients except the shortening. Using a pastry cutter (or pulse in a food processor) cut in the shortening until the mixture looks like coarse crumbs. Store in an airtight container in a cool, dry place up to 3 months. (To extend the shelf life, store in the refrigerator or freezer).

To bake: Combine the mix with 1⅓ cups water, 2 eggs, and ½ tsp. vanilla extract. Bake at 350 degrees F 20 minutes for cupcakes, 30 minutes for 2 9-inch round cakes. Cake is done when a toothpick inserted in the middle comes out clean. Cool completely before frosting and serving.

*If you'd prefer, cold butter can be used in place of shortening. Just store the mix in the freezer.

Recipe by Kim

February 9, 2014

Strawberry Cupcakes


So, Valentine's Day is a thing that's happening. Soonish, right?

I kid. I know when Valentine's Day is. Its the day before my birthday, and it's usually the reason I have to wait a week to celebrate because everybody else has gooey romantic plans.

I don't really get Valentine's Day, you know? Don't get me wrong, I love all the things that comes with it. Pink, sparkly things, stuffed monkeys that make kissy noises (pictured above), chocolate and cherries, cheesy cards with bad puns and even worse double entendres. But seriously, guys. Is it really romantic if you're being romantic on the one day of the year the calendar tells you to be romantic?
And ladies, let's be reasonable. Guys only do romantic on February 14th because we expect them to do romantic because the calendar says we should expect the romance. First of all, if the woman wants the romance, why is all the responsibility on the dude? Secondly, isn't it more romantic if it takes you by surprise? If he shows up with flowers, chocolate, and dinner reservations on February 14th, he can't really do more than exceed expectations. But if he does it on a random date, then its unexpected and special. Call me crazy, call me bitter, but I find the latter much more romantic of the two scenarios.
Look, I'm not saying Valentine's Day should be abolished or anything. I'm not even saying it shouldn't be celebrated, but I like it best when its corny, pink, and sparkly.

These cupcakes are not some huge romantic gesture. They are cute and pink, decorated with sugar pearls and conversation hearts. They are perfect for a quiet Valentine's Day evening at home, exchanging cheesy greeting cards, giggling over the bad innuendos, and getting pink glitter everywhere.
The cupcakes get their flavor from strawberry sauce and a dollop of strawberry jam baked into the middle, which means you don't have to worry about trying to find strawberries in the dead of winter. The cupcakes themselves are based off of my Cherry Chocolate Chip Cupcakes, the whipped egg whites and buttermilk giving them a light airiness. My taste tester practically licked the liner clean, and they hadn't even been frosted yet.

And if you're wondering why the cupcake is brown and not pink, it's because I had forgotten to add the food coloring. Strawberries don't actually turn things red in baking, not without a little help, and the strawberry sauce I was using was more of a reddish brown to begin with. But that is most definitely a strawberry cake, no matter what the color.
Strawberry Cupcakes
Yield: 24 cupcakes

Ingredients
For the cupcakes:
1 cup unsalted butter, softened
1 cup sugar, divided
⅔ cup strawberry sauce
 cup buttermilk
½ tsp. vanilla extract
2 ½ cups flour
¾ tsp. baking soda
½ tsp. salt
4 egg whites
½ cup seedless strawberry jam

For the frosting:
¾ cup unsalted butter, softened
2 tbsp. vegetable shortening
2 cups powdered sugar
2 tbsp. strawberry sauce
½ tsp. vanilla extract
Small pinch of salt
Red food coloring (optional)

Directions
For the cupcakes: Preheat the oven to 350°. Line 2 muffin tins with 24 paper liners. In the bowl of a stand mixer, beat the butter and ½ cup sugar together at medium speed until fluffy. Add the vanilla.

Mix together the buttermilk and strawberry sauce and add about ¼ cup to the butter mixture. Beat until fully incorporated. In a large bowl, mix together the flour, baking soda, and salt. Add about half of the flour mixture to the butter mixture and beat until just combined. Add the rest of the milk mixture, followed by the rest of the flour mixture. Beat until smooth.

In a separate bowl with clean beaters, whip the egg whites on high until they start to turn glossy. Gradually add in the remaining ½ cup of sugar, and continue to whip on high until soft peaks form. Using a rubber spatula, carefully fold the egg whites into the prepared batter.

Add 1 tablespoon of batter to each muffin cup. Top with 1 teaspoon of strawberry jam and another tablespoon of batter. Bake 20 minutes, or until the tops spring back when gently pressed. Cool completely before frosting.

For the frosting: using an electric mixer, beat the butter and shortening on medium speed. Gradually add in the sugar. Add the remaining ingredients, continuing to beat on medium until well incorporated. Increase the speed to high and whip until light and fluffy.

Recipe by Kim

August 18, 2013

Homemade Uncrustables- For the Lunchbox #SundaySupper


Can I just ask you all something? Does anyone actually like to eat the bread crust?

Kids are allowed to not like the crusts. And if they refuse to eat the bread crust, we make it easy on them. We cut off their crusts for them, maybe use a special cutter to make it a cute shape, even buy pre-made, frozen peanut butter and jelly sandwiches just because they don't come with crusts. I honestly don't know of any other food that parents will so willingly discard a part of. And I think it's because everybody secretly agrees: crusts are icky.

But as adults, we feel like it's childish not to eat the crusts. It's a waste of our hard earned money, and we should be thankful that we have icky crusts to eat. And we can't buy those frozen crust free sandwiches for ourselves because they're too expensive, and we should really be eating something with better nutrition, and blah blah blah, pbbbbft.

Double standard much?

Look, I'm a sort of adult-type person. I have a full time job (pbbft), I own a car, I do my taxes. And I'm here telling you that if you want to bring an Uncrustable and a juice box with you for lunch, then by golly you should. No need to feel any sort of adult guilt, because I can show you how to make them cheaper, better tasting, and better for you than the ones you find in the store.

And, you know, you can make them for your child-type peoples too. But only if they're nice and share their candy.
I love Uncrustables, I really really do. I mean, we all know how much I love peanut butter, so it shouldn't surprise you that I love a good pb&j. And I hate the crusts. I force myself to eat them-- unless I'm sitting outside, and no one else is around, and I can throw them for the birds to eat-- but I still hate them. I used to buy Uncrustables in school when I was renting an attic and had no kitchen. I'd just grab one, stick it in my bag, and I'd have something quick and ready to eat on those marathon days when I had class for 7 hours straight with no break. I am not knocking the Uncrustables.

But, as with most things, a peanut butter and jelly sandwich is much cheaper to make on your own, and as a pre-packaged food, Uncrustables have that mile-long list of unpronounceable ingredients. (Plus, they contain malted barley flour, which I can no longer eat since I've discovered it gives me terrible headaches. So they're just big meany-pants) But it's also true that you can't beat the convenience of that ready-to-go sandwich sitting pretty in the freezer, all sealed up and ready to go.

Well if you can't beat them, make them yourself!

... You know what I meant.
You're gonna start with two slices of bread. You can use any kind you like: white bread, potato bread, multi-grain, whole wheat. I used my honey wheat sandwich bread (which is why my slices are a little squat: I baked it in a loaf pan that was a little too big)(Yes, I totally used fresh baked bread to make an Uncrustable. You ain't gonna find that in the freezer section.)
We start by cutting off the crusts. You're not going to want to forget this step, since it's kind of the entire point to this whole exercise. I cut as close to the crust as I could manage so there's less waste. You could save the crusts to make bread crumbs or something. Probably. Or feed them to the dog. That works too.
Next, roll out the bread with a rolling pin. You don't need to roll it out too thin; this just makes it a little more pliable and easier to work with, and it seals the little air holes from the yeast.
Peanut butter. On both slices. This is important, especially if you want to keep it in the freezer. The peanut butter seals in the jelly and keeps the bread from getting soggy. I used White Chocolate Wonderful peanut butter, because that's my faaaaaaaaavorite.
Next, jelly. Or jam. Or preserves. Or spreadable fruit. Or lemon curd. Or marmalade. Or the filling of your choice. You want to keep it towards the middle, at least half an inch from the sides, so it doesn't squish out the sides when you seal the sandwich. I used strawberry rhubarb jam, since that's what I had in the fridge. (You ain't gonna find that in the freezer section either, boyo.)
Then you seal it. This step gave me a lot of trouble to try and figure out. Wonder Bread makes a sandwich sealer thing that does it for you, but I wasn't going to go out and buy a tool that just does that. That seems like a waste. I read a couple people used pastry cutters that did the same thing, but I didn't have one, and those wasted a good portion of the sandwich itself. In the end, it was simple: just use a fork, like you would for a hand pie. No part of the sandwich gets wasted, and it's something that everyone already has. (And if you don't have a fork, they usually have free plastic ones at Wendy's.) I just used a sharp knife to clean up some of the more raggedy edges and shape it a little better, so it would look less like a deformed ravioli.
And that's all there is to it. Make a bunch, wrap them in plastic, and stick them in the freezer, just like the premade kind. The best part is, you're not stuck with whatever flavors the people at Smuckers think are marketable. I used white chocolate peanut butter and strawberry rhubarb jam on honey wheat bread. You could make an Elvis uncrustable with peanut butter, bacon, and bananas. You could make dessert uncrustables on cinnamon bread with Nutella and strawberry jam. You could even experiment with other types of sandwiches, like ham and cheese. And no matter what you do, it's in that convenient, cute, crust free shape that kids-- and adults!-- love.
And yes, that's my juice box. That I drank right after taking this photo. Because I am a srs adult person.

Thanks to Liz from That Skinny Chick Can Bake for hosting this week's #SundaySupper, and have some fun brown-bagging it with the rest of the #SundaySupper crew:

Sandwiches, Wraps and Entrees:
Munchies, Salads and Sides:
Sweet Treats: