Showing posts with label egg-free. Show all posts

June 17, 2016

Shift the Balance: Reza's Cheese Soup or Sausaquences and Peppers

Guess what today is! Guess what, guess what, guess what!

Okay, you're not going to guess so I'll tell you: TODAY IS THE DAY THAT DREAMFALL CHAPTERS: BOOK 5 COMES OUT!

No, but you guys, you have to understand, it's the final part of the final game of The Longest Journey saga, and it's been so long since Book 4 came out, and the ending of Book 4 kind of left me sobbing on my keyboard and I just...

I have a lot of feelings, okay?

Anyway, since we all know I celebrate with food, and since I already made Balance Cupcakes, I decided to make something out of the game itself.
Pretty early on in Book 1 (it seems so long ago...), Zoe-- one of the main, playable characters-- has a simple fetch quest: pick up lunch for her boyfriend Reza, and bring it to his office. Seems simple enough, right? It's designed to help you get used to navigating the Propast area (which is totally my favorite in the game), so it's not trying to trip you up or anything. Go to the food cart, talk to the vendor, pick up a food item, find Reza. Easy peasy. Reza even gives you free reign to pick whatever you like, though Zoe knows he doesn't have the most adventurous palate.

However, this is a gritty technopunk future, so when Nela reveals that she has some very rare real pork sausages for sale, it's a bit of a game changer.
Zoe knows that Reza would prefer his usual order of cheese soup, but she also wants to broaden Reza's culinary horizons, and the pork sausages are hard to say no to. So, it's up to you as the player to make the choice.
It seems like an innocent enough choice, something simple for the devs to throw in to give the player the illusion of control. However, as the end card says when you finish Book 1, this choice actually has unexpected and far-reaching consequences. Or sausaquences, as Zoe refers to them in her journal.
And, after one dev tweeted about everything coming back to a choice to you didn't think mattered, everyone's pretty nervous about the sausaquences coming back to bite us.

In honor of that potentially fatal choice, I decided to make both foods so you can make the choice for yourself.
Since it's mid June and it's been pretty warm here in NJ, I decided to make both meals in the slow cooker. Not that Nela does that, but I didn't feel like standing over the hot stove or turning the oven on. Plus I don't have Karl to help out. (Karl is the name of Nela's food cart. It makes more sense in context).
Reza's favorite cheese soup I decided to make nice and hearty. The broth is creamy and flavored with sharp cheddar cheese, and it's chock full of broccoli, potatoes, carrots, celery, and onions. Plus, to thicken it up a bit, since there's not much evaporation in the slow cooker, I added a couple tablespoons of instant potatoes. That's totally optional: you can add rice or noodles with will absorb some of the liquid, go for a cornstarch slurry, or leave it as is, but I liked it this way.

One note is that you really need to add the cheese at the end. Cheddar breaks very easily if it's cooked for too long. You can always use Velveeta to avoid that, but we all know real cheese tastes better.
As for the sausages, since I wasn't going to make my own (Nela didn't either, so we're square), and plain sausages doesn't seem like much of a lunch, I went with sausage and peppers. Or, sausaquences and peppers, get it?
...
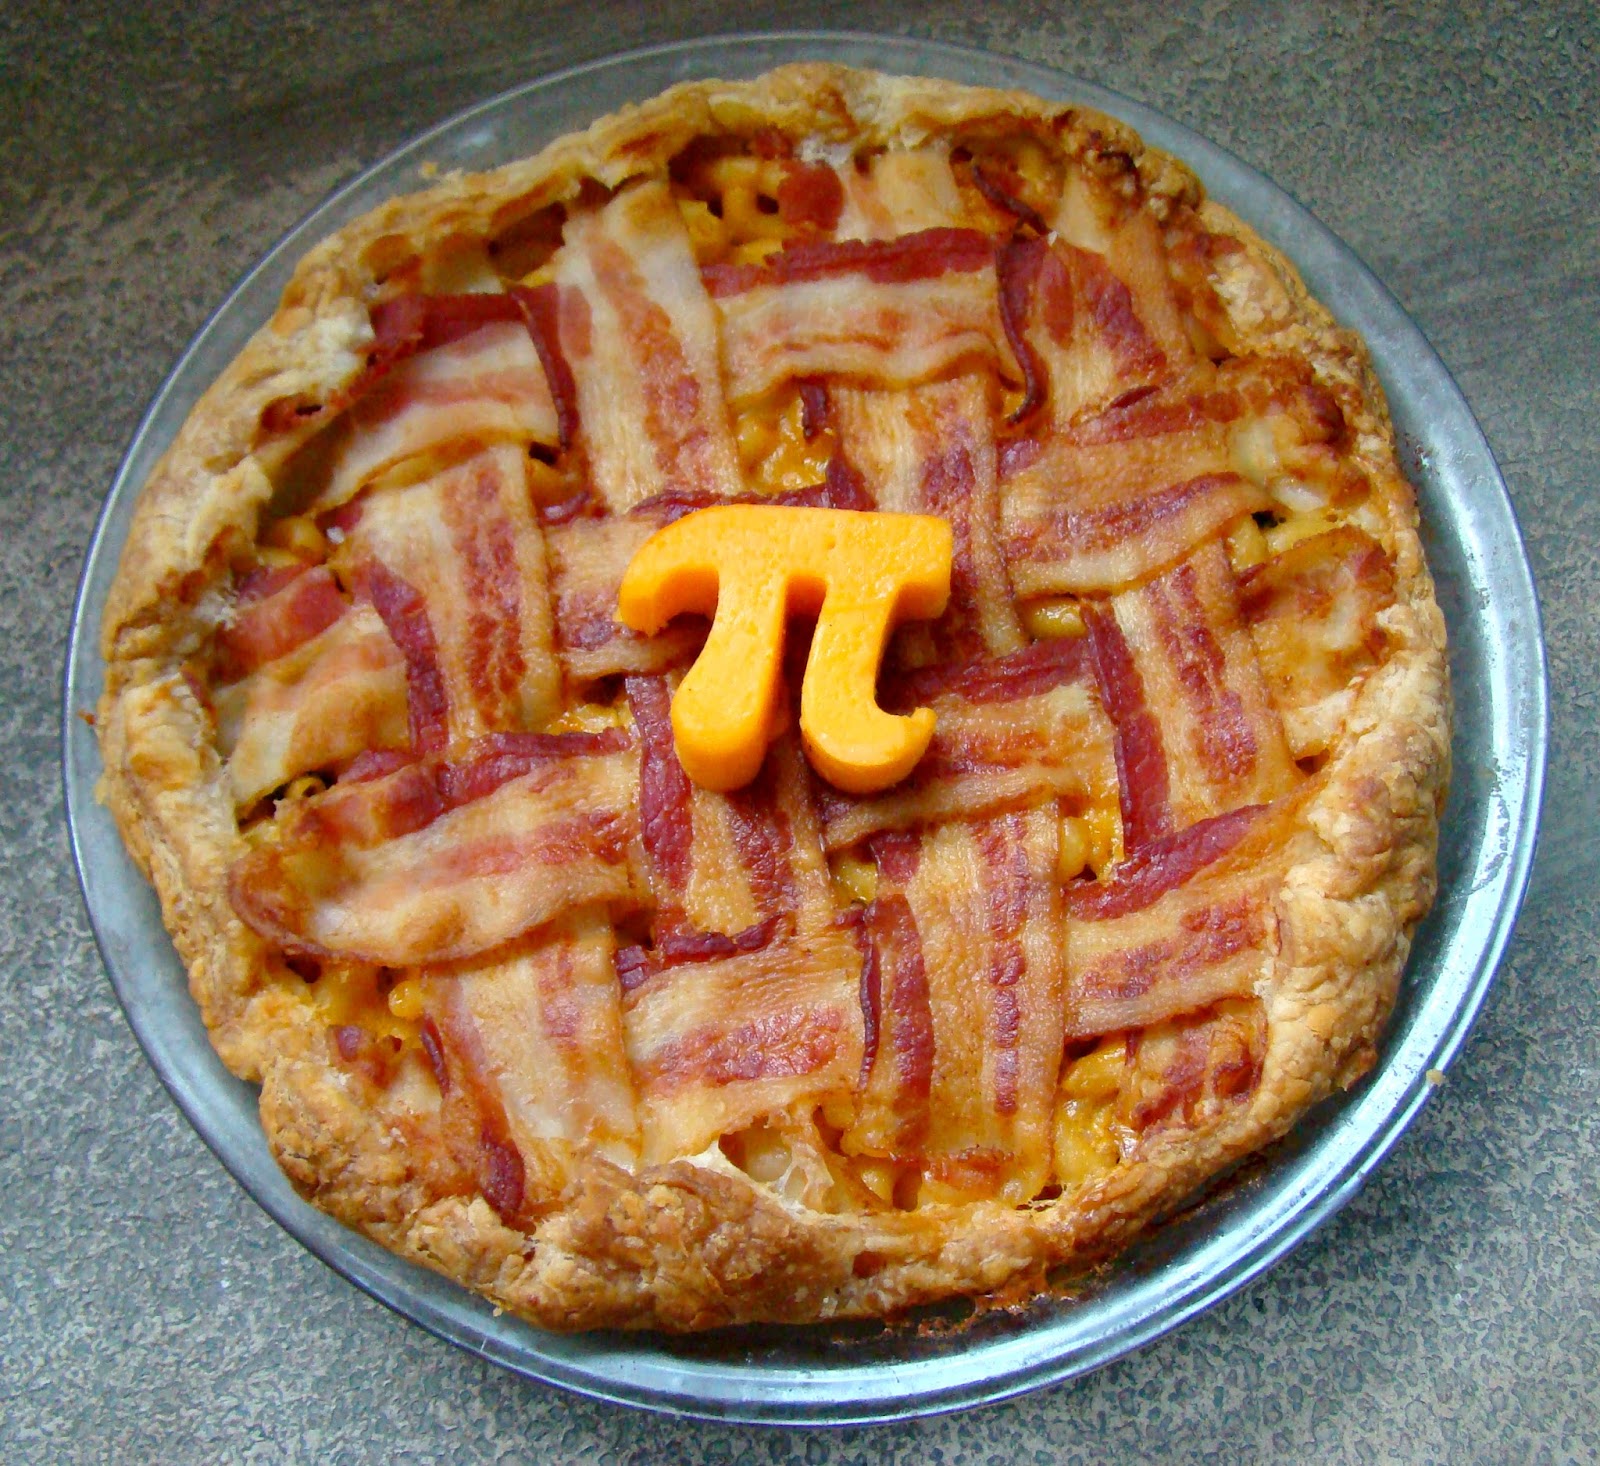
I thought it was funny.

Sausage and peppers is a ridiculously simple dish that I think every Italian knows how to make, and it's a fairly common street food around here, especially down the shore (usually served on a roll), so I thought Nela might approve.

My family usually makes it in the oven (dump everything in a baking dish, cover with foil, bake until the sausages are done), but now I might always make it in the slow cooker because holy crap on a cracker did it turn out good. The sausages were so tender they were like butter, and everything just came out so flavorful that I ate like three helpings when I went to taste it. Plus, it's even easier to make it in the slow cooker than the oven, since I don't have to preheat the oven or worry about a timer.

Now, you can brown the sausages on the stove first if you like. I won't stop you. Many people do, to cut down on grease and crisp up the casing. But that just seemed too much like work to me.
So now you have a very important choice to make: Reza's cheese soup or sausaquences and peppers. The fate of two worlds may be in the balance. Or possibly just the fate of your dinner.

Reza's Cheese Soup
Yield: 12 servings

Ingredients 
3 ribs of celery, chopped
2 potatoes, chopped
1 head of broccoli, chopped small
1 onion, diced
1 cup shredded carrots
6 cups low-sodium vegetable broth
1 tbsp. Worcestershire sauce
2 tsp. ground cumin
2 cans evaporated milk (I used skim)
3 tbsp. instant potato flakes (optional)
16 oz. shredded sharp cheddar
1/2 cup shredded Parmesan
Salt and pepper, to taste

Directions
In the bowl of a slow cooker, add the first eight ingredients. Cover and cook on low for 6-8 hours until the vegetables are soft and the potatoes are fork tender. Add the evaporated milk and potato flakes, stirring until the flakes have dissolved. Cover and cook 30 minutes, until heated through. Add the cheese, half cup at a time, stirring until completely melted. Season to taste with salt and pepper, and serve.

Recipe by Kim

Slow Cooker Sausage and Peppers
Yield: 6 servings 

Ingredients 
12 sweet Italian pork sausages
1 (28 oz.) can crushed tomatoes with basil
2 red bell peppers, sliced into strips
1 onion, sliced into strips
2 tsp. garlic powder
Salt and pepper, to taste
6 large rolls, to serve

Directions
Add the peppers and onion to the bowl of a slow cooker. Season with garlic powder, salt, and pepper. Add the sausages and crushed tomatoes. Give a quick stir to coat. Cover and cook on low for 6-8 hours, until the sausages are cooked through and tender. Serve in rolls.

Tip: if you have leftover sauce, add it to rice or pasta

Recipe by Kim 

December 6, 2015

Crossguard Lightsaber French Bread Pizza


We are less than two weeks away from Star Wars: The Force Awakens! And we have already established the fact that I express excitement for nerd movies with pizza, so you should have expected this to come at some point. In fact this is only the first Force Awakens pizza post I have planned for you.

C'mon, I made all 6 of the Avengers into pizza, did you really think I'd stop at one pizza for Star Wars Episode 7? Do you even know me at all?

I split them up into different post because, unlike PizzAvengers where the only difference was the toppings, these pizzas are each prepared differently, so having them all together would be a massive post. Also, I did not want to make them all together, and this is my blog, so nyah. Expect more to come.

Anyway-- lightsaber pizza!! For those of you that may not know, the crossguard lightsaber is new to the Star Wars universe. We  caught a glimpse of it in the very first trailer, and it sparked a huge controversy. Some people thought it looked awesome, some people thought it didn't make sense, and a lot of people were hating on JJ Abrams for the change.
Source
Personally, I can understand the reasoning behind the crossguard. Swords have crossguards to protect the wielder's hand and arm. People seem to lose an awful lot of limbs in the Star Wars universe, so if dude wants that extra protection, I can understand it. It does seem a little dangerous-- I would lose a few fingers the first time I turned it on-- but presumably between Jedi training and Force manipulation, that's not an issue.

Also, dude's a Sith. Clearly some of them enjoy hacking their lightsabers. Darth Maul had the double one. I know Vader was a purist but he also ended up being a good guy, so obviously he was more Jedi than Sith the whole time.

...

I didn't need to put a spoiler warning on that, did I? If you haven't seen the original trilogy, what are you even doing here?
I was browsing Star Wars pizza on Pinterest, like you do, and I saw a recipe for crossguard French bread pizza. I thought it was such a great idea since French bread is already vaguely lightsaber shaped, and the crossguard lightsaber is unique to Episode 7, so it's an easy way to celebrate the new movie.

If you've ever made French bread pizza, you know it's super simple. Take a loaf, slice it in half, add toppings, toast it. And you can totally make it that simple, especially if you're not necessarily interested in making the crossguard lightsaber. I made it with a few extra steps, because it's what I do.
Firstly, I decided to use refrigerated bread dough (I used Pillsbury. It was pretty good, but tasted more like sourdough than French bread), so that I could shape it into one piece. That seemed easier to me, but you can totally just get two loaves already baked and cut them up to make the same shape. Easy peasy.

Secondly, instead of slicing the loaf in half, I cut a slit in the crust and hollowed out the loaf a bit to make more of a pizza boat. I thought that would make the toppings look more lightsaber-y. Also, the words "pizza boat" sound delicious, and the cheese and sauce stay warm longer because they're enclosed in the crust.
The toppings are simple: just tomato sauce, shredded mozzarella, chopped olives for the "handle" and pepperoni for the... blade? I actually don't know what the light part of the lightsaber is called. Wow, uh, that's um, I don't know what to say. I feel ashamed. Let's just keep this between you and me, okay? Pinky swear?

Anyway, I like turkey pepperoni, just in general, but I especially like it for this pizza because it tends to be more red than the regular pepperoni. It's not a huge difference, but I think it looks better. You could also use chopped red bell pepper and avoid the pepperoni all together.
cheeeeeeeeeeeeeeese
This pizza would be a great appetizer or movie time snack (you know, while you're rewatching the original trilogy to prepare to watch Episode 7). To make it easier to serve, you can slice the bread 3/4 of the way through, so you can just pull off a slice. I wasn't sharing, so I didn't worry about that.

How excited for The Force Awakens are you? True story: I had to darken some of these photos because they were a bit washed out, and as I was doing that, I found myself whispering, "good, good. Let the hate flow through you. Embrace the power of the dark side." I surprise myself sometimes with my own level of nerdiness.

French Bread Pizza
Yield: about 6 servings, depending on the size of the loaves

Ingredients
1 1/2 loaves French bread*
Approx. 1 cup prepared tomato sauce
Shredded mozzarella cheese
Pepperoni and diced olives to top

Directions
Preheat the oven to 425 degrees F. Place your loaves on a baking sheet. With a sharp knife, cut out a long, thin section of the crust, and remove some of the inside bread to make room for the toppings.

Fill the hollow you made with the tomato sauce and shredded mozzarella. Top with olives and pepperoni. Bake 8-10 minutes until the cheese is melted and bubbly. Let cool slightly before serving.

*I used Pillsbury refrigerated dough

Recipe inspired by Cooking with Plants
Psst, do you have a nerdy baker in your life? Geeky Sprinkles make a great gift. The steampunk sprinkles are my personal favorite, but there are also Tardis sprinkles, Harry Potter lightning bolt sprinkles, and Meeple sprinkles. They are awesomely geeky and can only be found on geekyhostess.com/shop. And for a limited time, you can use the promo code "TRINKETS" to get 20% off anything in the shop. I'm hooking you guys up, dude.

I helped fund the Kickstarter for Geeky Sprinkles, but I'm not affiliated in any other way with  The Geeky Hostess. Tara contacted me and asked if I wanted a promo code to share with you guys just because she's awesome like that. And you can never have too many sprinkles.

May 3, 2015

Salted Caramel Death Star Popcorn Balls


Tomorrow is Star Wars Day! YAAAAAAY! (For those of you that are new here, May 4th is Star Wars Day because May the fourth be with you. Get it?)

To celebrate, I made multiple Death Stars. Out of popcorn and caramel. And then I covered them in candy. I don't think that's what the actual Death Star was made out of, because then the rebels wouldn't have needed Luke's Force-guided missile aim to blow it up. They could have just sent a couple Wookiees in to eat it. I'm sure Chewie would volunteer.
I've never actually made popcorn balls before. I mean, I've done marshmallow popcorn treats (like krispie treats, but with popcorn), and while I suppose that you could make those into balls and call them popcorn balls, I wanted to try something a little closer to the old fashioned method.

Except that the old fashioned method uses sugar and corn syrup, and I was worried that dipping them in the melted candy would make them too sweet. So I found this recipe from Food Network for caramel popcorn balls that was basically the same but used honey and brown sugar instead.
For my part, I thought the honey flavor was a little too strong, so if I made them again, I'd probably try some maple syrup or maybe dark corn syrup, but other than that, they were delicious. And fairly simple to make, providing you have the time and patience required for boiling sugar. (Never take your eyes off the stove when cooking sugar. CONSTANT VIGILANCE). Bonus, I had some extra popcorn left because the caramel had hardened too much to make another popcorn ball, so I spread it on a lined baking sheet to cool, and it made the perfect caramel corn. It was like the stuff you get in the tins at Christmas, only better because you made it.

One thing I didn't love was that the caramel, by necessity, was still pretty warm when I was shaping the popcorn balls. You have a very small window of opportunity between cool enough to not burn and hardened caramel, and I have very sensitive hands. So if you have sensitive hands like I do, use a pair of rubber gloves for that part (just spray them with cooking spray so the candy doesn't stick).
Then, when they had set, I dipped them in a mix of melted black and white candy wafers to get a dark grey, and I used some black sparkle gel to do some very simple detailing. Easy peasy.

Salted Caramel Popcorn Balls
Yield: About 12 popcorn balls

Ingredients
Approx. 8 cups popped popcorn
1 cup packed brown sugar
1/2 cup honey
1/2 cup (1 stick) unsalted butter
1 1/4 tsp. salt*
1/2 tsp. baking soda
1/4 tsp. vanilla extract
To decorate: black and white candy melts, black decorating icing

Directions
Generously grease a large mixing bowl with nonstick cooking spray. Pop your popcorn using your preferred method and place it in the bowl.

In a saucepan over medium heat, combine the brown sugar, honey, and unsalted butter, stirring constantly until it comes to a boil. Allow it to boil, stirring occasionally to prevent sticking, until it reaches 300 degrees F on a candy thermometer. Remove from heat and quickly stir in the salt and baking soda. Stir in the vanilla and pour over the popcorn, stirring until well coated. Let sit until cool enough to handle, about 5 minutes (it will still be very warm).

Line a baking sheet with waxed paper. Dip your hands in water to prevent sticking and shape the popcorn into balls about 3 1/2 inches wide. Place on the prepared baking sheet and let them sit until the caramel has completely set, about 10 minutes.

Melt the black and white candy melts together. Coat each popcorn ball in the melted candy, letting the excess drip off, then place back on the lined baking sheet. Chill in the refrigerator for about 10 minutes, or until the candy has hardened. Decorate with black decorating icing. Store in an airtight container at room temperature.

*Adjust this amount to suit your personal preference. If using prepackaged microwave popcorn, add only 1/4 tsp salt, since your popcorn will already be salted.

Recipe adapted slightly from Food Network

Things you may need (affiliate links):


*Disclaimer: This post contains affiliate links*

Other Star Wars Day Treats:

April 12, 2015

Spinach and Artichoke Bites


Did you guys know that it's Camp NaNoWriMo time? Because it is. And I always forget about April sessions, because April was always Script Frenzy month, except now Screnzy has been absorbed into Camp NaNo.

Have I lost you yet? I'm sorry. I forget sometimes that not everyone is fluent in WriMo-ese.

Anyway, April came before I remembered to have a "I don't have a plot" freak out, which ended up being a good thing, since I only had one plot idea rattling around inside my head. And that was originally meant to be the plot to a video game, but since I have no idea how to develop a video game, it's now been turned into interactive fiction. (Think Choose Your Own Adventure novels meet text based gaming. A great example are Choice of Games)

A while back, this idea for a game hit me, out of the blue, sort of a dystopian twist on the stereotypical dating sim. I actually love dating sims (also known as otome games or visual novels)(It's one of the few ways I'm totally girly. When I'm not summoning eidolons or restoring the Balance, obvi), but the biggest problem is that the grand majority of them follow the exact same format. I wanted to put my own twist on it and actually use the generic format to my advantage.

If I finish, you guys will totally play it, right?
If you're in the middle of writing an interactive fiction novel and still need to make an appetizer, these Spinach and Artichoke Bites are so quick and easy that you won't have to spend too much time away from your keyboard.

I am the segue master!

Seriously though, these bites were a last minute thing I decided to make for Easter since I had an extra sheet of puff pastry in the freezer from making my Mac 'n Cheese Pie, and an extra block of cream cheese from making my brother's Cheesecake Stuffed Portal Cake, and since my parents were having people over, I decided to put them together with spinach and artichokes to make a fancy appetizer.

And I guess they really were super fancy, because my aunt thought they were the frozen appetizers you get from the store. Then she ate one and was surprised at how good they were.
Everybody was all, "Kim made these?" and they were impressed and that confused me. I tried to explain that it was a simple matter of putting spinach and artichoke dip into puff pastry and baking it. I guess if you're not the type of person that has random sheets of puff pastry lying around, these just seem a lot more labor intensive than they are.

Trust me though, these are beyond easy to make. The filling takes little more than a bowl and a spoon to bring together. Then you cut the puff pastry into squares and put it in a mini muffin tin. Put a spoonful of filling into the pastry and bake. That's it.

Added bonus, these are perfect make ahead appetizers. I made them the day before, brought them over in a foil pan, and my dad stuck them in the oven alongside the ham for 10 minutes. Easy peasy.

Spinach and Artichoke Bites
Yield: 32 bites

Ingredients
1 (8 oz.) pkg. cream cheese, softened
1/3 cup mayo
1/2 cup grated parmesan cheese
1 (14 oz.) can artichoke hearts, drained and chopped
1 cup frozen chopped spinach, thawed and drained
2 cloves garlic, minced
Salt and pepper, to taste
1 package (2 sheets) puff pastry, thawed according to package directions

Directions
Preheat the oven to 425 degrees F.

In a large bowl, mix the cream cheese and mayo together until smooth. Add the cheese, artichokes, spinach, and garlic, and mix until well incorporated. Season as desired with salt and pepper.

Spray a mini muffin tin with non stick cooking spray. Cut the puff pastry into even squares (16 per sheet) and press the squares into the muffin tin. Fill with the spinach artichoke mixture and bake 10-15 minutes until the edges start to turn golden brown. Allow to cool slightly before serving.

Recipe adapted slightly from Park House Love

Things you may need:


So, you probably don't need No Plot? No Problem!, but if my various, effusive ramblings about NaNoWriMo have ever interested you, I totally recommend it. It was written by NaNo founder Chris Baty, who is funny and cool and awesome and signed my copy. :P


*Disclaimer: This post contains affiliate links*

March 14, 2015

Mac 'n Cheese Pie with Bacon Lattice for the Ultimate Pi Day


Do you guys know what today is? It's Pi Day! But it's not just any old Pi Day, it's the Ultimate Pi Day! *voice echo**explosion sounds**special effects*

As you may know, Pi Day is March 14th every year because 3/14 = 3.14, the first three digits of pi. This year, however, the date is 3/14/15, and 3.1415 are the first 5 digits of pi. Not only that, but at 9:26:53 AM, we're at 3.141592653, a full 10 digits of pi. This is the only time this will occur in our lifetimes, you guys, and I think that's pretty darn cool.

Does that make me a huge nerd?

Fun fact: even though I'm actually pretty good at math, I was really bad at geometry. I took it freshman year of high school, at a time when I was flirting with the idea of going into architecture. After taking geometry, I knew architecture was a bad choice for me. If you can't calculate shapes and angles, you shouldn't be building things. Statistics is more my speed. I killed at statistics.
Now, I knew I had to do something epic to celebrate the Ultimate Pi Day. Since Pi Day is traditionally celebrated with pie for obvious reasons, that was the way to go. But me and pie, we're not the best of buds. I don't really make it that often, and I wouldn't really know how to go epic, you know? So I did some interwebz research and found a bacon topped macaroni and cheese pie on Buzzfeed. That sounded pretty epic, and also pretty easy.

Now, since I'm me and I don't follow recipes, I sort of went my own way. But in this case, "going my own way" actually meant using a couple of short cuts. You may recall that I have a block against pastry crusts. I can't make them. It never works. So, I bought some frozen puff pastry to use as a crust. I also, and I'm ashamed to admit it, bought the cheese sauce from the grocery store. That's not a thing I ever thought I would say, but I didn't really feel up to making my favorite mac 'n cheese sauce, even if it would have tasted better.

I also cooked the pasta in my rice cooker, but that's not a thing you have to do. I've just been cooking everything in my rice cooker lately because it's kind of awesome, and it was so much easier to use it than to boil the pasta on the stove. (Side note: I love my rice cooker. It has a steamer tray so I can cook meat and veggies with my rice. Full meal, no added effort, what's not to love?)
I added some spinach to the pasta because... I couldn't bring myself not to add a little green. It in no way balances out the complete unhealthiness of the pie, but at least you get something good with it. You could also add some broccoli or zucchini, or skip the green stuff all together. I won't tell.

Assembling the pie couldn't be easier. Just press the puff pastry into a pie plate. Mix together the pasta, sauce, some shredded cheese, onion, and cooked spinach and put it all in the pie plate. Take 8 strips of bacon and lay it on top, basket weave style. I folded the edges of the pastry over the ends of the bacon to prevent any grease from dripping into the oven, then I baked it up.
How does it taste? It's macaroni and cheese with bacon in puff pastry. You really can't go wrong here. It it the absolute ultimate in comfort food. The cheesy pasta, the buttery pastry, the salty bacon, so many carbs it puts you in a coma, but the good kind.

One thing is that it kind of falls apart when it's warm, so you'll want to let it cool completely before slicing. I thought about putting an egg in as a binder, but I totally forgot to buy eggs when I was at the store, so I don't know if that would make much of a difference. You can warm up the individual slices to serve, or you could just eat it cold. I actually really like it cold. I know, I'm weird.
As a bonus, I remembered that I had a pi silicone ice cube tray, but since I wasn't making a dessert and couldn't really use chocolate, I was stumped as to how I could use it. I thought maybe I could pour some melted butter in the molds, but a random pat of butter on top of the pie seemed weird. Then I thought about using some of the cheese sauce and freezing it, but I wasn't sure how well that would work. Then I thought, why not just melt some cheddar and try that? And it worked perfectly.

All you do is heat the cheese in the microwave for 20-30 seconds, until it's melted. Then you just pinch off a bit and press it into the mold. Chill the refrigerator until set (between 30-60 minutes), then pop it straight out. I greased the mold first, but since the melted cheddar was pretty greasy itself, I don't know how necessary that really is. I'll just have to try it again (buy ALL the ice cube trays!).
And that's all there is to making an epic pie for an epic Pi Day. Nerd food at its finest.

Mac 'n Cheese Pie
Yield: 1 9inch pie (6-8 servings)

Ingredients
1 sheet puff pastry, thawed
8 oz. elbow macaroni
2 cups packed fresh spinach
1¼ cups cheese sauce
1 heaping cup shredded cheddar cheese
¼ cup diced red onion*
8 slices of bacon

Directions
Preheat the oven to 425 degrees F. Press the puff pastry into a 9 inch pie plate and trim off the excess. Prick the pastry a few times along the bottom with a fork.

Cook the pasta according to the package directions, for 1-2 minutes less than recommended. Drain and return to the pot. Stir in the cheese sauce and spinach. Heat on low while stirring, until the spinach is wilted. Remove from heat and stir in the shredded cheese and diced onion.

Spread the pasta evenly into the prepared pastry. Place the bacon on top (4 strips vertically, 4 strips horizontally) and weave in a basket weave pattern (1 over, 1 under). Tuck the ends of the bacon into the pie. Fold up the edges of the pastry over the bacon to prevent grease runoff.

Bake for 15-25 minutes, until the bacon is cooked through and the pastry is golden brown (tent the edges with foil if it starts to brown too quickly). Allow to cool before slicing.

*If using a cheese sauce that already has onion, feel free to skip

Recipe inspired by Buzzfeed

Things you may need (affiliate links):


February 11, 2015

One Pot Spinach and Tomato Pasta


I'm going to be completely geeky for a sec (though really, when do I ever stop?). I bought myself and early birthday present in the form of a video game called Life is Strange. That title may or may not sound familiar to you, as there was recently some controversy when every publisher except for Square Enix told the developers that they wouldn't touch the game unless they changed the protagonist from female to male.

But I'm not here to talk about that (although I could give a good long rant), even though I'm a little happy that it happened. Not publishers going, "no, girls have cooties!" but the fact that it gave the game such early publicity. I've recently gotten into adventure games, and I've been waiting for a more interactive title. Adventure games have the tendency to feel a little bit passive, but Life is Strange promises choices that have real consequences to the story, plus the power to reverse time that will probably lead to a kind of butterfly effect. (The first time Max reverses time, she was taking a picture of a butterfly. Subtle, devs, real subtle).

I'm not pleased with the fact that it's being released in chapters, though. That's a new thing that's been happening with adventure games lately, and while it makes a certain amount of sense for indie games, a big publisher like Square Enix should be able to release the whole game in one fell swoop. The first chapter is mostly exposition with a couple of fairly basic fetch quests, and even though I'm a pretty slow gamer (I like to explore and talk to everyone), I finished it in one sitting. Still, I'm excited to play the next chapter and see how my choices effect the rest of the game.
Anyway, that concludes my geeky update for today. I was just really excited about that game. Now we can move on to the stuff you care about: the pasta.

Do you ever notice that there are a lot of recipes out there that claim to be one pot recipes, but then you read the ingredients and it will say, "8 oz. spaghetti, cooked and drained," or "1 cup cooked white rice." Umm, no. If I have to have the pasta or rice already cooked, then I have to use a second pot to do that cooking, ergo, you are not a one pot recipe so go sit in the corner of shame.

That's not to say that there aren't actual one pot recipes on the interwebz, but then these imposters will show up while I'm looking for a real recipe and they'll make me so angry that I ragequit and just end up making a bowl of pasta in the microwave, like you do.

This recipe, however, is a real one-pot recipe. Or technically, a one skillet recipe, since I didn't actually make it in a pot. The first time that I made it was during snowmaggedon, which while being a lot less snowmaggedony than predicted, was still not weather I wanted to go out in. I had spent most of the day making brownies and then realized I had nothing prepped for actual food. I searched the fridge and found some chicken I had defrosted, some cherry tomatoes, half a carton of chicken broth, and some frozen spinach. In the pantry, I had half a box of rotini. I threw all of these things into my big skillet and it turned into this super delicious pasta and crazy easy pasta dish.
This time I made it with canned tomatoes and fresh spinach. I like it better with the canned tomatoes because fresh tomatoes take longer to cook down, but honestly you could go either way. With the spinach, I prefer using the fresh just so I don't have to defrost the frozen. It's all about the priorities.

The key to this dish is in its simplicity. The sauce is no more than tomatoes and chicken broth, with a little parmesan stirred in at the end. The pasta cooks directly in the sauce and in turn, the starch from the pasta helps thicken the sauce. The spinach cooks alongside the pasta. There's onion and garlic in there for flavoring, but if you want the dish to come together even faster, you can always use onion and garlic powder. You could even skip the chicken (and use vegetable broth) for a vegetarian dish.
One Pot Spinach and Tomato Pasta
Yield: 3-4 servings

Ingredients
1 tbsp. olive oil
1/2 lb. boneless skinless chicken breast, chopped into bite size pieces
1/2 cup diced onion
1 clove garlic, minced
1 1/2 cups chicken broth
1 (14.5 oz.) can diced tomatoes
2 cups packed fresh baby spinach
8 oz. rotini pasta
1/2 cup freshly grated parmesan cheese, plus more for garnish
Sea salt and freshly cracked black pepper, to taste

Directions
In a large nonstick skillet, heat the oil over medium heat. Add the chicken, onion, and garlic, and cook, stirring occasionally, until the chicken is no longer pink.

Add the tomatoes and the chicken broth and heat until it starts to bubble. Stir in the pasta and spinach, turn the heat to low and cover. Simmer for 8-10 minutes, until the spinach is wilted and the pasta is tender. Stir in the cheese and season to taste.

Remove from the heat and let stand for 5 minutes, until the sauce has thickened. Serve hot.

Recipe by Kim

Things you may need:


*Disclaimer: This post contains affiliate links*

January 28, 2015

Peanut Butter Banana Brownies


Who watched last week's Arrow? Show of hands.

I got a question to ask you. Is Tatsu secretly Miracle Max? Or maybe his protege or something? Because as Maseo was dragging Ollie's body through the snow to the lonely mountain cabin, the only thing going through my head was:
It just so happens that your friend here is only MOSTLY dead. There's a big difference between mostly dead and all dead. Mostly dead is still slightly alive.

 And let's face it, Ollie "died" almost the exact way that Sara did, except he was run through with a scimitar instead of a couple arrows, fell off a mountain instead of a building, and was beat up a whole bunch by Ra's al Ghul beforehand. So basically, the only way he could have survived (since it's been confirmed that he wasn't revived by the Lazarus pit), is if he was given one of Miracle Max's pills before he was all dead. Otherwise WHY DON'T I HAVE SARA BACK BECAUSE I LOVE SARA AND LAUREL IS A TERRIBLE CHOICE FOR THE BLACK CANARY. 

*ahem*

I hoped they remembered the chocolate coating to make it go down easier.
These brownies have absolutely nothing to do with Arrow, I just had to get that off of my chest. Of course, I'd totally share these brownies with the denizens of the Arrow cave. Especially my bff Felicity.

I've been working on a recipe for eggless brownies because I only had 4 eggs left, I had two recipes I wanted to make that used two eggs each, and I didn't want to do battle with all the snowmaggedon preppers stocking up on eggs, milk, and bread. And I totally succeeded. The brownies I came up with were fudgy, chocolatey, everything you've ever wanted in a brownie.

These are not those brownies. There are reasons I can't share those brownies with you yet, and they're really good reasons, but I can't tell you those either. (I feel like I'm in that scene from Legally Blonde. Oh she's got an alibi, and it's a really good one. What is it? I can't tell you.)

Luckily for you, I wanted to test the brownies in a larger pan, but was out of unsweetened applesauce (that I had used to replace the eggs), so I decided to mix it up a little bit, using mashed banana instead, and replacing the oil and some of the butter with peanut butter. So these are almost those brownies. Am I forgiven?
 These brownies are still dense and fudgy and chocolatey while adding the delicious flavor combination of peanut butter and banana. They're rich, unexpected, and soooo good. Plus, super simple to make. No chopping up and melting chocolate (always my least favorite part), these use cocoa powder instead. You do need to melt the butter and sugar together, which helps to give it that shiny, crackly crust in the absence of eggs, but if you don't care about the crust, you can always dump the sugar in with the dry ingredients, and melt the butter in the microwave. One bowl, one pan, one whisk, all you need to make these suckers

I'm going to watch Arrow tonight with a plate full of these guys and probably quote The Princess Bride every time Tatsu comes on screen. "Bye bye boys, have fun storming the castle!"
Peanut Butter Banana Brownies
Yield: About 20 brownies

Ingredients
1¼ cup flour
¾ cup unsweetened cocoa powder (I used 1/2 cup regular and 1/4 cup Hershey's Special Dark Cocoa Powder)
½ tsp. salt
¼ tsp. baking soda
¾ cup (1½ sticks) unsalted butter
1¼ cup sugar
cup mashed, ripe banana
½ cup creamy peanut butter
2 tbsp. milk
1 tsp. vanilla extract
1 cup semisweet chocolate chips

Directions
Preheat the oven to 350 degrees F. Line a 9x13 inch baking dish with foil and spray with nonstick cooking spray.

In a large mixing bowl, whisk together the flour, cocoa powder, salt and baking soda. In a small saucepan over low heat, melt the butter. Add the sugar and continue to heat, stirring constantly, until the sugar is dissolved. It will be thick and syrupy.

Add the butter mixture, mashed banana, peanut butter, milk, and vanilla extract to the flour mixture, and stir until smooth. Fold in the chocolate chips, then spread the batter evenly into the prepared pan.

Bake for about 30 minutes, until the brownies are set, and a toothpick inserted in the middle comes out clean. Let cool completely before cutting into squares. 

Tip: to keep the chocolate chips from melting into the batter, let it cool for 10-20 minutes before adding them. You can use this time to preheat the oven

Recipe by Kim
 
*Disclaimer: This post includes affiliate links*