December 21, 2014

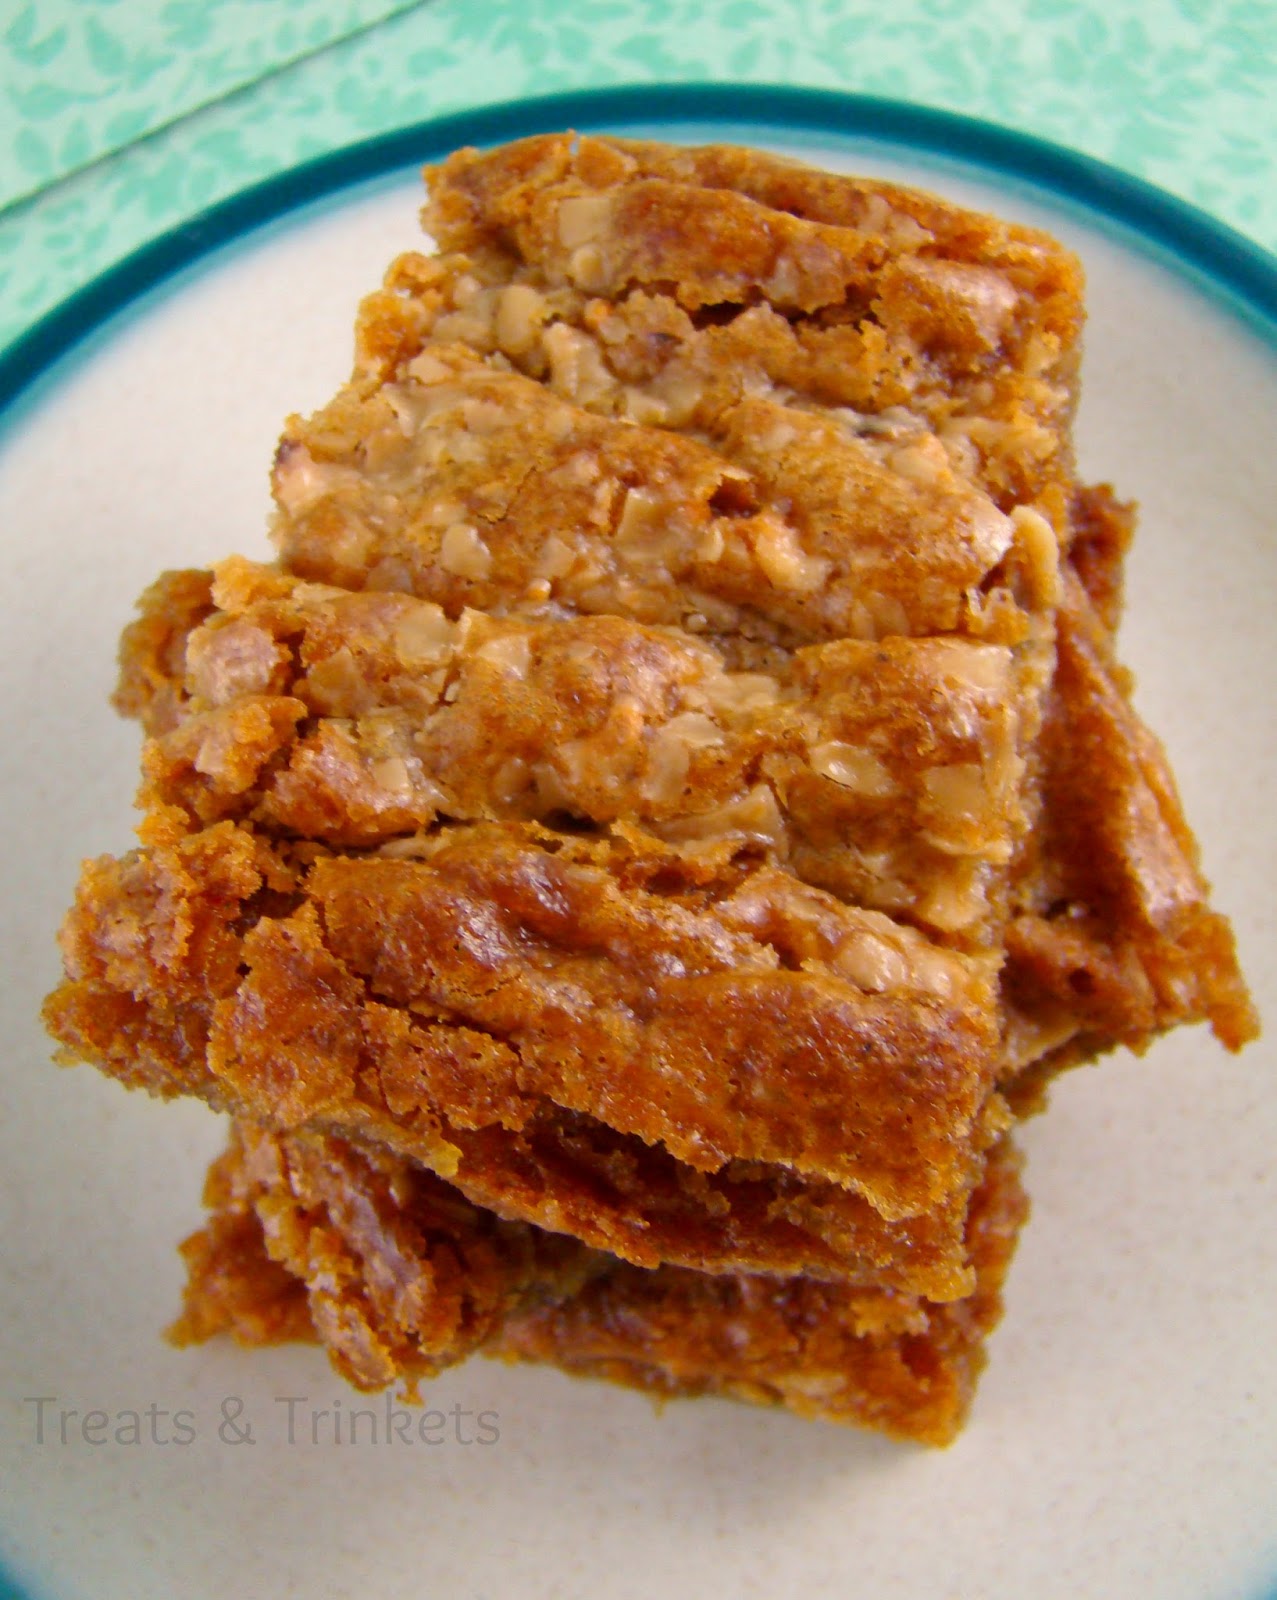
Maple Browned Butter Blondies


This recipe took me a while to perfect.

Not the flavor. I got that first time out. No, it was the texture that gave me trouble. I wanted these blondies to be all gooey and fudgy in the middle.

The first time I made them, they were cakey. Super moist and tasty, but not what I wanted.

So I tried again. This time it was still cakey, but even more moist. Almost too moist. It was a little weird.
And then my mother gave me a list of things to bake for her to give to her coworkers. On the list were the blondies. "You mean the blondies that I haven't perfected yet?" I asked in disbelief

"They're delicious!" she protested. "Everybody loved them."

"But they're not right yet!" But even my brother agreed that they were good the way they were.

I had one last chance to get the recipe right. And you guys, I did it. They're fudgy. They're gooey. They're abso-freaking-lutely delicioso.
Of course, in order to get them to that gooey perfection, I had to make them a dieter's nightmare. There's two and a half sticks of butter in these bad boys, not to mention all the brown sugar and maple syrup. On the plus side, they're super rich so you can't eat too many at once.

They're also not super sweet, which is what I wanted. The browned butter adds enough of a savory flavor to balance out all that sugar and maple syrup, and that's the flavor that really shines in these blondies.
Long story short-- these blondies are amazing and you should make them. They are totally worth every effort I put into them.

Maple Browned Butter Blondies
Yield: 12 blondies

Ingredients
1¼ cups (2½ sticks) unsalted butter, browned
1⅓ cups packed brown sugar
½ cup maple syrup
2 eggs, lightly beaten
2 tsp. maple flavoring
1 tsp. vanilla extract
1½ cups all purpose flour
1½ tsp. baking powder
½ tsp. salt
Optional: about ½ cup toffee bits*

Directions
To brown the butter: melt the butter in a small saucepan over low heat. Continue to heat, whisking constantly, until the butter turns a light, golden brown. Remove from heat and allow to cool to room temperature.

Preheat the oven to 375 degrees F. Spray a 7x11 inch baking dish with non stick cooking spray and line with parchment paper. In a large mixing bowl, whisk together the browned butter, brown sugar, maple syrup, eggs, maple flavoring, and vanilla extract until the sugar is dissolved. Add the flour, baking powder, and salt, and mix until smooth. Fold in the toffee bits if using.

Bake 35-45 minutes until a toothpick inserted in the middle comes out clean. Let cool completely before cutting into squares.

*The toffee bits sink to the bottom and melt into a sticky kind of crust. It's a mess, but delicious.

Recipe by Kim

December 17, 2014

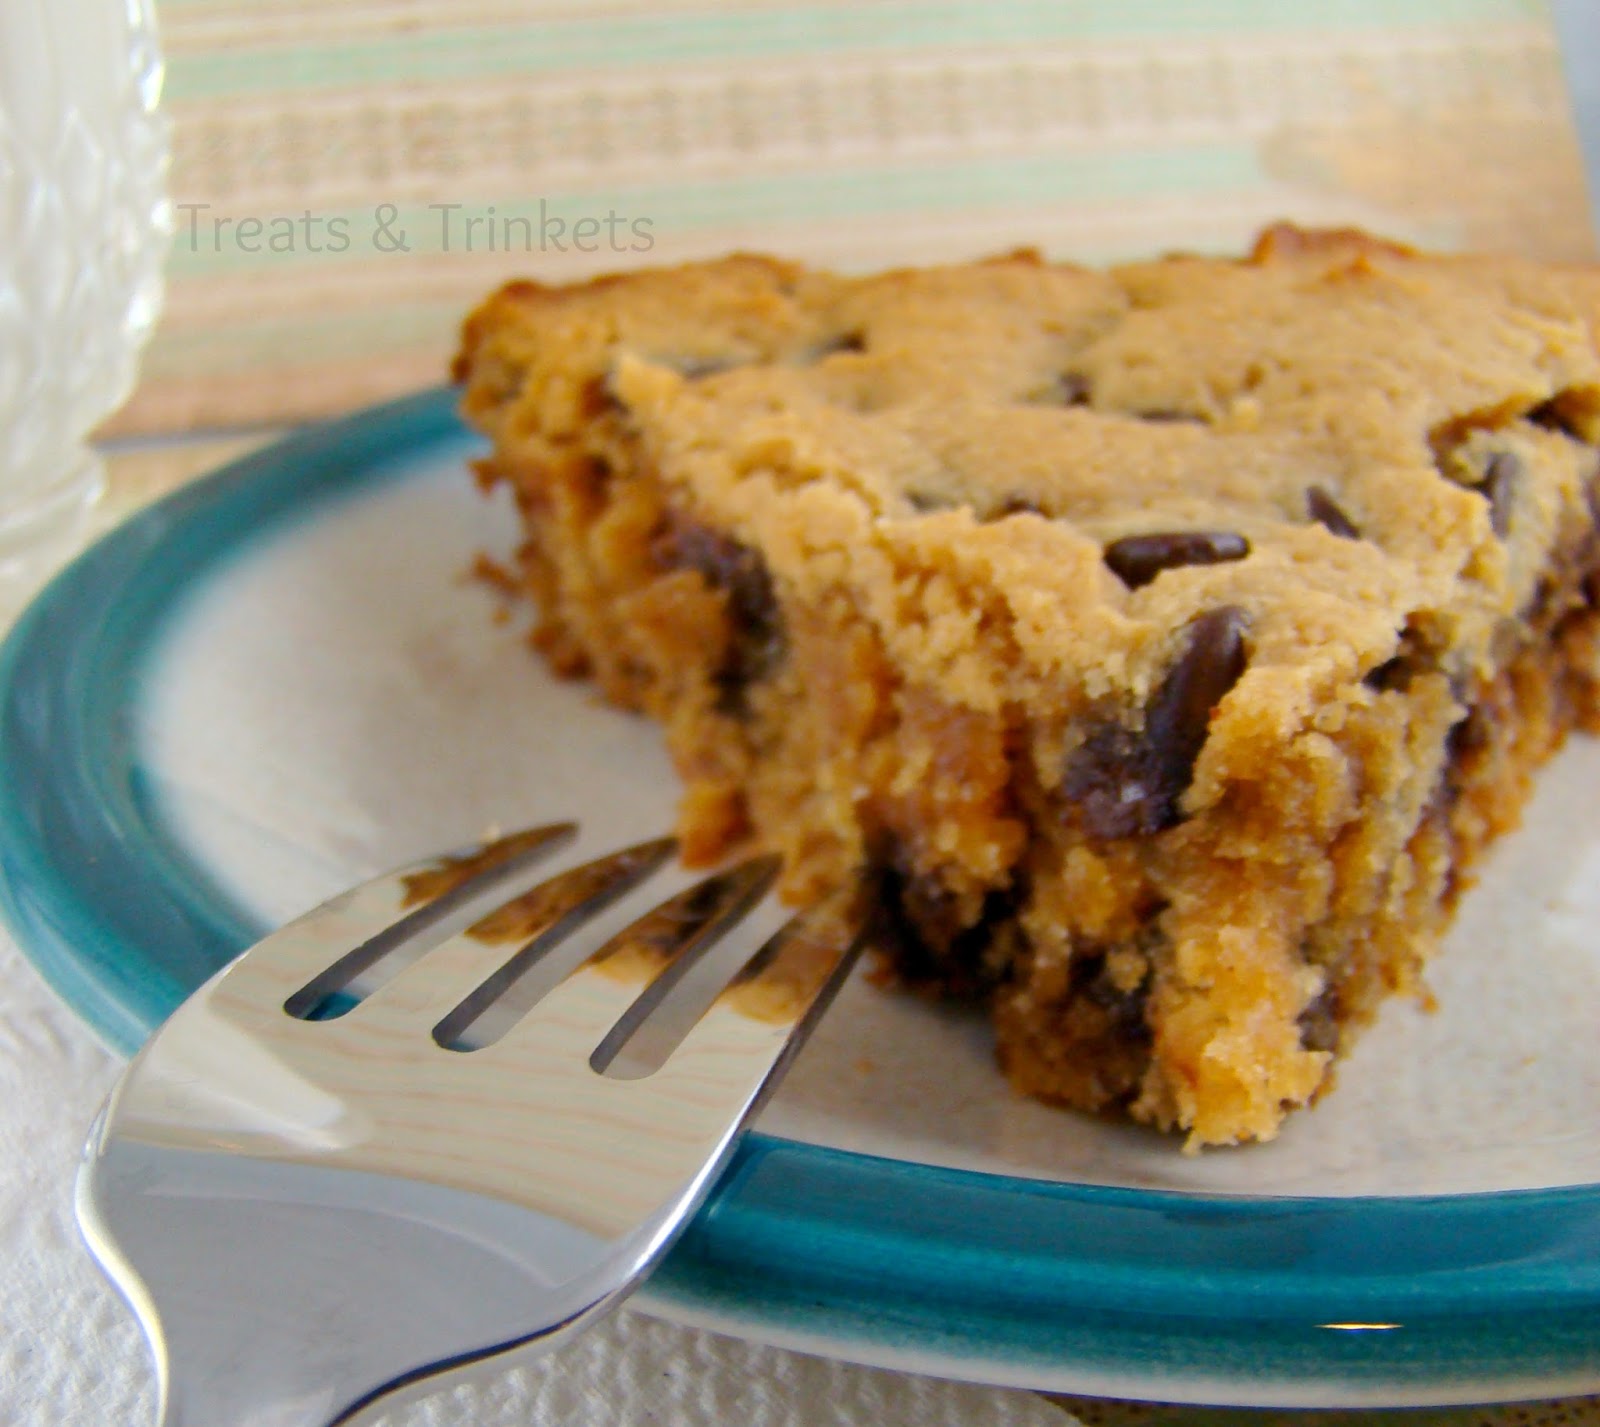
Gluten Free Peanut Butter Chocolate Chip Cookie Cake


So that name's a bit of a mouthful, but you won't really care too much about the name when you get a mouthful of this cake, because it is the bomb diggity.

Do people still say that? Bomb diggity? Is it still common knowledge that that refers to a thing that is very good? I was never really all that up on hip lingo. Which should be evident by my use of the words "hip lingo." But I digress.

This cookie cake is so good that we need to come up with a new word to describe it. Something fantastic. How about something like... phantasmagorical!

No, wait, that's a word that already exists and means something completely different. I'll do some brainstorming and get back to you.
Here's the skinny on this cake--or not-so-skinny as it were (Get it? Because it's a cookie cake? And it makes you not-so-skinny? I made a funny) (Laugh, dammit) . Coconut flour keeps us all in the gluten free territory, and it's high protein content helps make us full faster so we don't over indulge. Which is good, because I could have totally seen myself eating the entire thing in one sitting. Thanks coconut flour! (Thumbs up! Big smile! Tooth twinkle!)

The last time I worked with coconut flour, I noticed that it had a bit of a grittiness to it, and I wasn't the hugest fan of that. But this cookie cake is so moist and gooey in the middle that you don't get any of that gritty texture (well, you get it a bit around the edges which are drier, but for the most part, zero grittiness.)
And let's talk about that gooey, peanut buttery, chocolatey center of goodness. It's almost like eating raw cookie dough, except it's totally cooked through, so you've got the best of both worlds. Plus, it's a one-bowl, no mixer necessary recipe, so it's an easy dessert to throw together last minute if you've got unexpected guests, or maybe just forgot about them.

The one downfall of this cake is that it is a little delicate. If you try to cut a slice still warm from the oven, it kind of falls apart. I actually found it easier to slice after it had been chilled. Then you can always warm it up for a few seconds in the microwave and serve it with a big ole scoop of vanilla ice cream. Or, you could not care about getting pretty slices. That's always an option.

Gluten Free Peanut Butter Chocolate Chip Cookie Cake
Yield: 8 servings

Ingredients
2 eggs, lightly beaten
6 tbsp. milk
3 tbsp. butter, melted and cooled to room temperature
1 tbsp. maple syrup
1 tsp. vanilla extract
½ cup packed brown sugar
1 cup creamy peanut butter
½ cup coconut flour
1½ tsp. baking powder
½ tsp salt
1 cup chocolate chips

Directions
Preheat the oven to 375 degrees F. Grease a 9 inch pie plate or cake tin with butter or nonstick cooking spray. In a large mixing bowl, whisk together the eggs, milk, butter, maple syrup, and vanilla. Add the brown sugar and mix until dissolved. Mix in the peanut butter until smooth. Add the coconut flour, baking powder, and salt, and mix until well incorporated. Fold in the chocolate chips.

Spread the batter evenly into the prepared pan and bake 20-25 minutes, or until a toothpick inserted in the center comes out clean. Allow to cool completely before cutting.

Recipe by Kim

December 14, 2014

Yeast Free Pizza Crust


So, long time no see, eh? I'm sorry I've been missing for so long, but I've had a lot on my plate recently. It's not the kitty butt. He's fine. We're off of pills and all the ickiest of his meds, just on his inhalers and oral gel.

It's me. I'm kind of... unemployed at the moment. I didn't get fired or anything. You see, I never actually worked for the company where I worked, if that makes any sense. I was a part of the facilities management company, and they ended our contract. It happens, of course, but they hired a new company that's so completely unprepared for this place that I'd feel sorry for them if I didn't think they were an awful company to begin with. The woman they hired as my replacement had zero experience with Excel, Outlook, or apparently any kind of office phone (she asked me if she had to hit transfer when calling an extension. There was no transferring involved).

The funny thing is, people started coming out of the woodwork, completely upset by this news. I always pretty much figured I was furniture to these people. I had a job, I did it, no big deal, and if there's a decor change, who really cares. But I had people coming up to me, telling me they'd miss me, telling me I could use them as a reference if I needed it, telling me that what was happening was unfair.

But the thing is, I'm not really that upset by it. Sure, I'll miss the paycheck, but I'm on unemployment and I've got some money saved up, so I'll be okay. And yeah, I thought the whole thing was handled poorly (the guy in charge of the whole thing wasn't even man enough to show up our last week), but I was so desperately unhappy there, that this is almost a relief. That place left me with no energy to go anywhere after work or on the weekends. I'd been neglecting my friends and my house. I hadn't even had the energy to cook. So for now, I'm looking at this whole situation as an opportunity. I can catch up on the blog, finally finish organizing my house, work on a project I started almost a year ago that could mean some extra cash flow. Meanwhile, I've been looking into some work from home opportunities that will allow me to continue to do all of this with an income that's not subsidized by the state

So now that I've got all those big life decisions out of the way, let's move on to the good stuff: pizza.
This is my newest favorite way to make pizza. As you all may know, I'm not a planner. So yeast doughs and I are not exactly the best of friends. If I ever wanted to make pizza, I'd either have to get the crust from the grocery store (and since that's not one of my grocery staples, and we've already been over how little I like doing that, that almost never happens), or start it in the morning, which is something I almost never remember to do.

But now that I have this yeast free recipe, I can whip up a pizza from scratch in less time than it takes to get it delivered. Plus, it only uses ingredients I always have in my kitchen, so even on the days when I have very little food around because I haven't been grocery shopping in 3 weeks, I can still make pizza.
The crust is just flour, water, and baking powder with some seasonings. That's it. Mix it up, knead it a couple times, press it into a pan (I used a rimmed baking sheet) and bake for a couple minutes before adding the toppings. I made a quick sauce out of a can of crushed tomatoes with basil (another pantry staple). I cooked it down with a little water, a couple bay leaves, some sugar because it was kind of bitter, and seasonings (oregano, garlic, onion powder, and a little crushed red pepper). Topped it with some shredded mozz and a little bit of shredded cheddar to keep things interesting. I had some Italian-style chicken sausages that I'd bought on sale a while back, so I sliced those and put them on top. Liberally sprinkle with more oregano (I love oregano on pizza. Yum) and bake 10-12 more minutes.

The crust rises beautifully in the oven, even without the yeast. After baking, it's soft and chewy (I prefer leaving the crust a little thicker, but it makes a great thin crust too), but still sturdy enough to have no problems holding it. Flavor wise, I do miss the yeast-y flavor of a regular pizza crust a bit, but it's not a hugely noticeable difference. Plus, this is ready in 20 minutes, which more than compensates for the lack of yeast-flavor. And it makes great leftovers, which we all know I love.
I forsee a lot more homemade pizza in my future.

Yeast Free Pizza Crust
Yield: 4-6 servings

Ingredients
2½ cups all-purpose flour
2½ tsp. baking powder
1 tsp. salt (optional)
Italian seasonings, to taste (optional) (I used garlic, oregano, basil, and onion powder)
⅔ - ¾ cup water
Prepared tomato sauce and shredded mozzarella cheese, to top (use dairy free cheese for vegan)
Optional: meats or vegetables for toppings

Directions
Preheat the oven to 400 degrees F. In a large mixing bowl, mix together the flour, baking powder, salt and seasonings (if using). Add ⅔ cup water and mix with a rubber spatula until the dough comes together. If the dough is too dry, add the remaining water, a little bit at a time. Alternatively, if the dough is too wet, add up to 1/4 cup extra flour. The dough should be soft but not sticky. On a lightly floured surface, knead the dough for about 5 minutes.

Grease a baking sheet (or pizza pan) with olive oil or butter. Press the dough evenly into the pan, into about 1/2 inch thickness (you can go thicker or thinner depending on your preference). Bake for 5 minutes.

Remove the crust from the oven, and spread a thin layer of tomato sauce on top. Top liberally with shredded mozzarella and your desired toppings. Bake for another 10-12 minutes, until the cheese is melted and bubbly. Serve immediately.

Recipe adapted from Adventures in Coupons and Diethood