Showing posts with label peppermint. Show all posts

January 11, 2015

Peppermint Hot Cocoa Snowflake Brownies


These brownies make me angry. (That's my secret Cap; I'm always angry. ilu Bruce Banner)

It's not the flavor. They taste really good. It's not the texture-- they're not quite as fudgy in the middle as I would like, but fudgy enough to satisfy me.

What gets me about these brownies is that they're such a tease. Roll back to Christmas Eve. I was making cookie cups to give as presents, but I needed something else. Then I remembered I had this silicone snowflake pan from forever ago. I'd make snowflake cupcakes and add them to the presents!

Except the recipe I used was too light and fluffy and the cakes fell apart when I tried to take them out of the pan. No problem, I was planning on making these brownies to serve for dessert anyway, so I'd just switch up my plans. I baked the rest of the cake batter in a regular pan and whipped up the brownie batter.

I decided to do a test brownie so I wouldn't waste too much batter if they didn't come out. That sucker came out abso-frickin-lutely perfectly.

By that time, I was running late, and I had promised my mother I'd make her green bean salad since she had to work, so I covered the bowl of batter, grabbed the silicone pan and went to my parents' house to finish up there.

Except the next batch I pulled out of the oven fell apart when I tried to take it out of the pan. I ran back home, grabbed the ingredients to make more, and made a second batch. This one I baked for a few minutes longer, and let cool for as long as I could, and they still fell apart. I didn't have time to try again, and ended up feeling a bit miserly as everyone only got three pieces of fudge and two cookie cups for presents.

If the tester hadn't come out so perfectly, this wouldn't upset me as much as it did
You make me so angry, you perfect little snowflake

I figured the key for the brownies to come out of the pan properly was to add those extra few minutes to the baking time, and to chill them before trying to take them out of the pan (the second batch, while I'd let it cool for half an hour, I still felt some residual heat, and the tester was left neglected while I did other stuff, so it was cooling for probably over an hour.)

Once again, I went to make the brownies, armed with the knowledge earned from those past defeats, and... I accidentally mixed up my 1/3 cup measure with my 1/4 cup measure and added too much flour. I forged ahead anyway, figuring that this would make them denser and less fudgy, but that could only help me at this point.

When I finally popped them out of the pan, I was ready to rejoice, as they didn't break coming out, but I looked at them, and I don't know if I used too much cooking spray, or if it was because the batter was too thick, but there were air bubbles in the surface so you could barely see the pan's design. At that point I decided I was completely done with these brownies, so I just dusted them with sugar and covered them with sprinkles and took photos.
If you decide to be a normal person and make them in a pan, these brownies are delicious. Like I said, they're not quite fudgy enough for me, but they're a good compromise for people who like fudgy brownies and people who like cakey brownies. My family was very happy that the brownies didn't come out, since they got what my brother dubbed the sad brownie mountain (I just threw all of the broken pieces onto a plate, and they piled up) and they completely demolished it. I left all the brownies with them, since I couldn't bear to look at them.

These are basically the same as my Chocolate Pudding Brownies, except I used dark chocolate hot cocoa mix instead of instant fudge powder, and I added peppermint extract and Andes Peppermint Crunch Baking Chips. You can't go wrong with chocolate and peppermint, and I love those peppermint baking chips because they still give a little crunch, but don't stick to your teeth like crushed candy canes do. Of course, any peppermint candy would do if you don't have the baking chips. You could even stir in some mini York Peppermint Patties.

In summation, don't use a snowflake pan. And also make these brownies.
Peppermint Hot Cocoa Snowflake Brownies
Yield: 12 brownies

Ingredients

2/3 cup sugar
9 tbsp. quality dark chocolate hot cocoa mix
½ cup flour
½ tsp. salt
2 eggs
½ cup melted butter
¼ cup milk or cream
1 tsp. vanilla extract
½ tsp. peppermint extract
½ cup semisweet chocolate chips
½ cup peppermint baking chips
Powdered sugar

Directions
Preheat the oven to 350°F. Line an 8 or 9 inch square pan with foil, and lightly spray with nonstick
cooking spray. In a large bowl, whisk together the sugar, hot cocoa mix, flour, and salt. Mix in eggs, butter, milk, vanilla, and peppermint extract, and stir until smooth. Fold in the chocolate chips and peppermint chips. Spread evenly into the prepared pan and bake for 25 minutes, or until the edges pull away from the pan. Cool and dust with powdered sugar.

If making in a silicone snowflake pan: Generously grease each cavity with nonstick cooking spray. Add 1/4 cup of batter to each cavity. Bake for 30 minutes. Let cool completely, then chill in the refrigerator up to 30 minutes. Remove from pan and let come to room temperature before serving. Makes 9 snowflake brownies.

Note: the silicone pan I use was roughly comparable to a jumbo cupcake tin. If using a smaller pan, use less batter and reduce the baking time.

Recipe adapted from my middle school Home Ec class (original source unknown)
*Disclaimer: This post includes affiliate links*

December 31, 2013

Christmas Tree Cookie Stacks & the Year in Review


HAPPY NEW YEAR!!!!!!!!!!

Can you believe that 2013 is over you guys? It had its ups and downs, but I have to say, it was a better year than 2012, for many reasons. Still no series 3 of Sherlock, though (but soon, very soon).

Top 10 Most Popular Posts of 2013:

  1. Easy Apple Cobbler
  2. Bananas are Good Frozen Nutella-Covered Bananas
  3. Lemon Bubble Ring
  4. Individual Elvis Pies
  5. Peanut Butter Cookies
  6. Peanut Butter Oatmeal Breakfast Cookies
  7. Dalek Cupcake Tutorial
  8. DIY TARDIS Dress
  9. Doctor Who Round Up
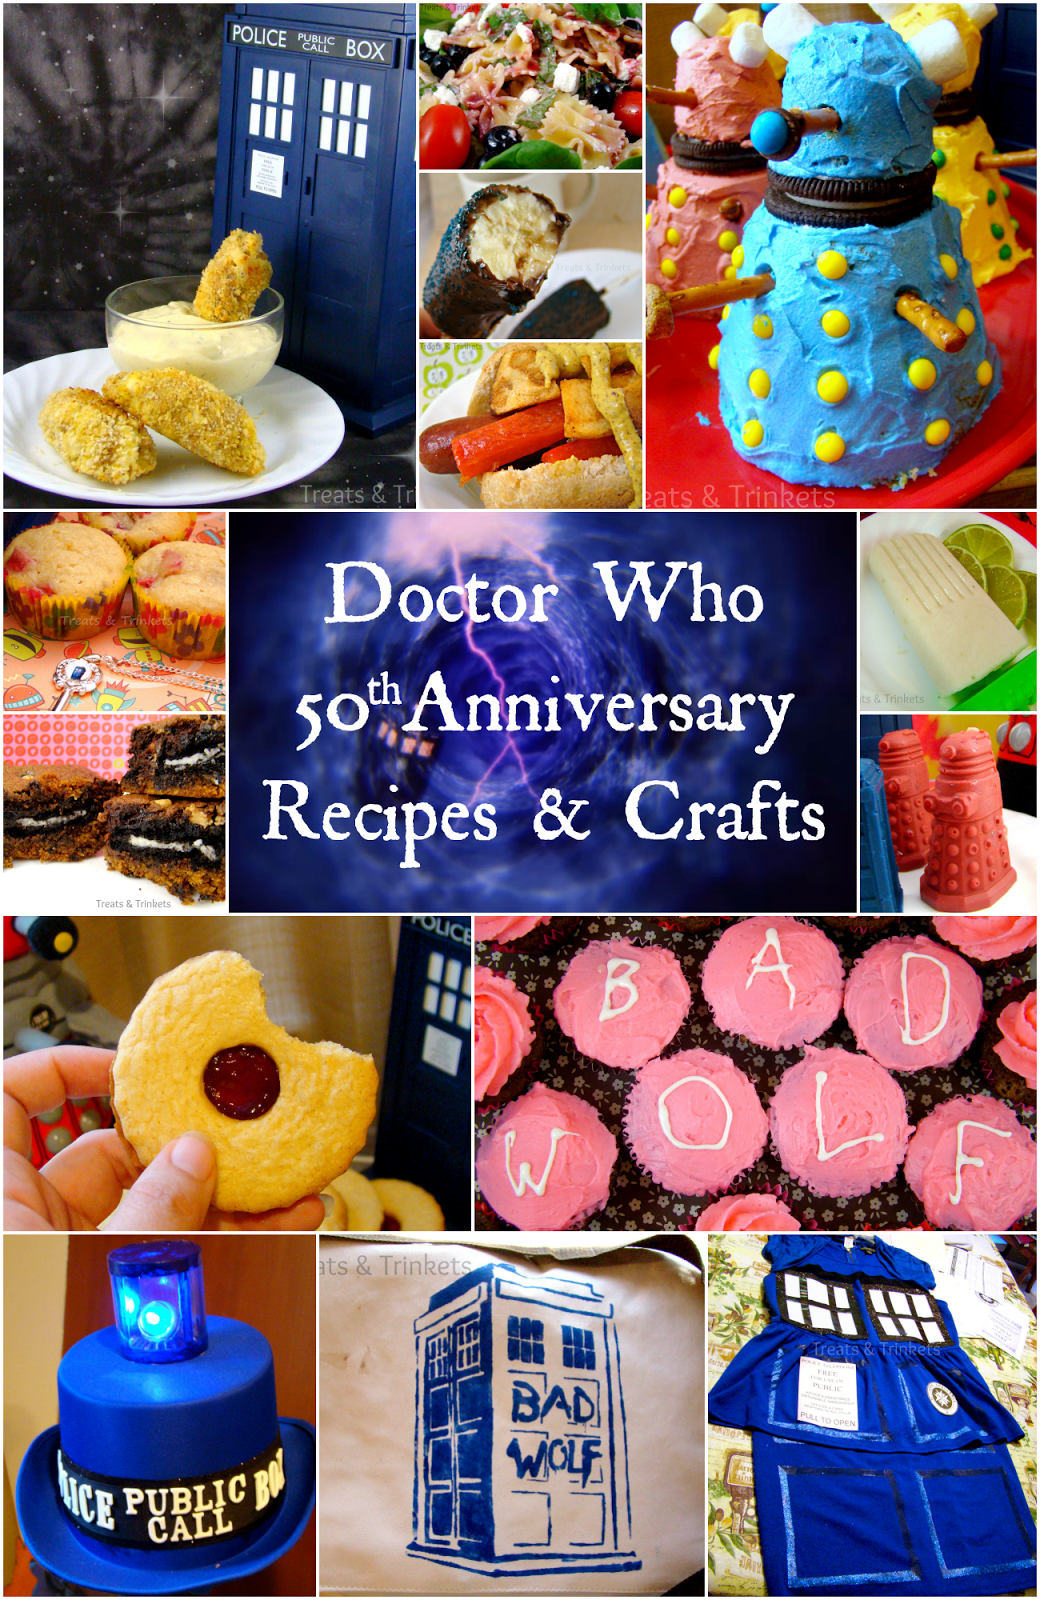
  10. Bad Wolf Cupcakes
I'm definitely noticing a theme here. That's five Doctor Who themed posts (one more subtle than the others), 3 peanut butter recipes, and 2 so-easy-they-barely-qualify recipes. And lemon bubbles, which are just awesome. I have one rule when I write this blog: I assume there is at least one other person out there just like me, who wants to read what I want to write about. By the looks of this list, that rule pays off.

And the Bad Wolf Cupcakes were a bit of a surprise, but I'm starting to suspect Rose Tyler had something to do with that...

Honorable Mentions (My Top 3):

My Family's Favorites:

Most Pinned on Pinterest:

These both kind of went viral on Pinterest (the marshmallows thanks to a pin from Recipe Girl *starry-eyed fangirl moment*) shocking the crap out of me.

My Favorite Search Terms:
  1. My brain is leaking
  2. Why is Nathan Fillion getting fat 2013
  3. Don't involve me
  4. Nathan Fillion singing peanut butter song
  5. Nerdy Nummies helping hands fanfic The Nerdy Nummies helping hands videos are funny, but not so much I'll write a fanfic for them. Watch them here
  6. Non-sucky homemade gifts
  7. Velvet Elvis Castle fanfic
  8. Dalek shower
  9. Epic bean dip
  10. Bad Wolf Okay, so not funny, but it's one of my TOP search terms, which tickles me
As I have each year since the beginning of the blog, I've also included a recipe with your Year in Review round up: These super cute, super easy Christmas tree cookie stacks
Except, it's not really a recipe. More of a method. You just start with any roll-out cookie dough (I used LilaLoa's End-All Chocolate Cookie Recipe (These are my go-to roll out cookes because a) chocolate b) no chill variation c) yum) plus 1/2 tsp. peppermint extract).
Using graduated star cutters (I got mine at Home Goods. They're an imported brand, I think Italian?), cut two of each size for each cookie stack (3 of the smaller stars so you can put one on top)
Melt some white candy melts (I like the ones they sell at Candyland. They taste better and melt smoother) with a splash of peppermint extract (flavoing oil is better because it doesn't have water, but if the chocolate seizes, just add a little shortening or vegetable oil. The Candyland chocolate didn't seize, but the Wilton's did). Dip the face of the cookies in white chocolate, and stack to look like Christmas trees.
Add sprinkles if desired, and stand a star on top. Et voila. Christmas tree cookie stacks. A unique and fun way to give out cookies, and easy enough for the kiddos to help.

And you know, my stats for the year show that you guys are a lot like me, so don't ever hesitate to reach out. Facebook, Twitter, email. Do you have a fandom you want recipes for? Do you have a question about baking? Do you think I got something wrong? Do you just want to talk? I'd love to hear from you guys more.


Here's to more geeky, sugary goodness in the New Year. Happy 2014, lovelies!

December 14, 2012

Chocolate Peppermint Icebox Cake


Urgh, you guys. I should know better by now. Me and planning, we will never get along. Ever. We will be mortal enemies. One day there will be an epic battle, and only one of us will survive. With light sabers.

Can you tell I had a bout of insomnia last night?

I think planning is gunning for me. Loading the deck. Everyone tells me, try it out, it'll make things easier on you, you won't have to do everything last minute. But then I try. And it's not easier. It's never easier. It just screws me up and ends up taking more time, and now I'm frustrated because it didn't work and I hate myself and I just make another icebox cake. Because icebox cakes are cool. And next to impossible to screw up. I know. I've tried.
This isn't exactly the prettiest icebox cake I've ever made. And it's a bit...tilty. You see, I screwed up making the ganache, and I tried (read: planned) to do something funky with the graham crackers and it didn't work. No more planning for this girl, nuh-uh. So I came out with a cake that's a bit wonky because I had to manhandle it out of one container into another, and I didn't have enough whipped cream, because I screwed up the ganache. So it's not quite right, doesn't have that half-melted ice cream cake texture.

And while I was making it, I realized I totally screwed up when giving you the recipe for red velvet graham crackers. I never put down the cocoa powder. D'oh. So I fixed that up and tweaked it a little bit further for you. Because I never make a recipe the same way twice. That would be boring.
For some reason unknown to man, I had Reddi whip in my fridge, so I tried to distract you by doing a cute swirl on top, with a peppermint kiss and some Christmas-y sprinkles. But the Reddi whip started melting 30 seconds out of the can. The one time I actually want to use that fake stuff, and it completely lets me down. My life is this.

But, it's all Christmas-y and yummy and (if you do as I say and not as I did) pretty. So, I guess we can call it a success?

And don't forget to enter my giveaway! Only 2 days left to enter to win the cutest apron in the entirety of existence or a surprise box of awesome.

Planning, you better watch your back. Because I been training up my light saber skills. Zwong! (That's kind of like the noise it makes, right? Zwong, zwong. You can totally hear it, can't you? Maybe I should just stick to laser guns. Pew pew pew!)

Chocolate Peppermint Icebox Cake {Printable Version}
Yield: 8-10 servings

Ingredients
2 cups heavy cream, divided
3 oz. white chocolate, chopped
½ tsp. peppermint extract
1 recipe Red Velvet Graham Crackers (or 1 box chocolate graham crackers/wafer cookies)

Directions
In a small saucepan over low heat, heat ½ cup heavy cream just until the edges start to bubble. Remove
from heat, add the chocolate, and stir until completely melted. Allow to cool to room temperature.

Add the remaining cream and the peppermint extract to the bowl of a stand mixer. With the whisk
attachment, beat the cream at high speed until soft peaks begin to form. Add in the chocolate mixture
and continue to whip until stiff peaks form.

Line a loaf pan with plastic wrap. Spread some of the whipped cream evenly in the bottom of the loaf
pan, about ¼ inch thick. Place a row of graham crackers over the whipped cream, filling as much space
as possible. Spread more of the whipped cream, and top with more graham crackers. Repeat until the
top of the loaf pan is reached, ending with the whipped cream. Refrigerate 8 hours or overnight.

To serve: invert the loaf pan over a serving dish to release the cake (it should pop right out). Frost the
sides with the remaining whipped cream. Serve chilled.

Recipe by Kim
Zwong!

December 30, 2011

Chocolate Peppermint Sandwich Cookies & The Year in Review

Pin It